This small coffee table was salvaged by my friend Chrystele at a flea market. Asking price was 10 € (roughly 10 $) so she did not hesitate for one second. In less than 5 minutes, the coffee table was loaded in her trunk!

Chrystele loved the shape of this coffee table, especially its beautiful curvy legs but there was no way she would install it in her living room in its original state. She was not a fan of this dark brown color. Actually, Chrystele had bigger plans for this wooden coffee table.
Table of Contents
Supplies for the Coffee Table Makeover

 1LB (16oz) - 2 Pack")


 - Packaging May Vary")
")
 (16oz)")


Prep Work
First step, Chrystele cleaned the entire piece with a degreaser and lightly sanded the table top and the legs.

By the way, when it comes to clean second hand furniture, I usually go for my favorite homemade cleaner: half white vinegar, half water. In the event the furniture piece I’m working on is very dirty, I might use Dish Soap (like Dawn). I might even go for TSP in case of old and grimy furniture. Should you want to learn more on how we clean thrift store furniture, read this blog post about How to Clean Dirty Furniture.
Painting the Coffee Table
Chrystele waited for her new coffee table to dry and then applied a primer all over the piece. She likes primer paint because it covers and seals previous finish and allow the paint to adhere better. If you want to know 5 reasons to prime when painting old furniture, read this blog post about Painting over stain wood.


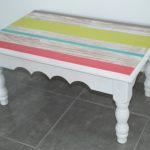
The next day, she applied the paint. She chose an nice color for this makeover: soft beige color with a hint of pink. If you’re using Dixie Belle products, you may obtain a similar color by mixing Burlap Chalk Mineral Paint and Tea Rose Chalk Mineral Paint. She applied two coats of paint.

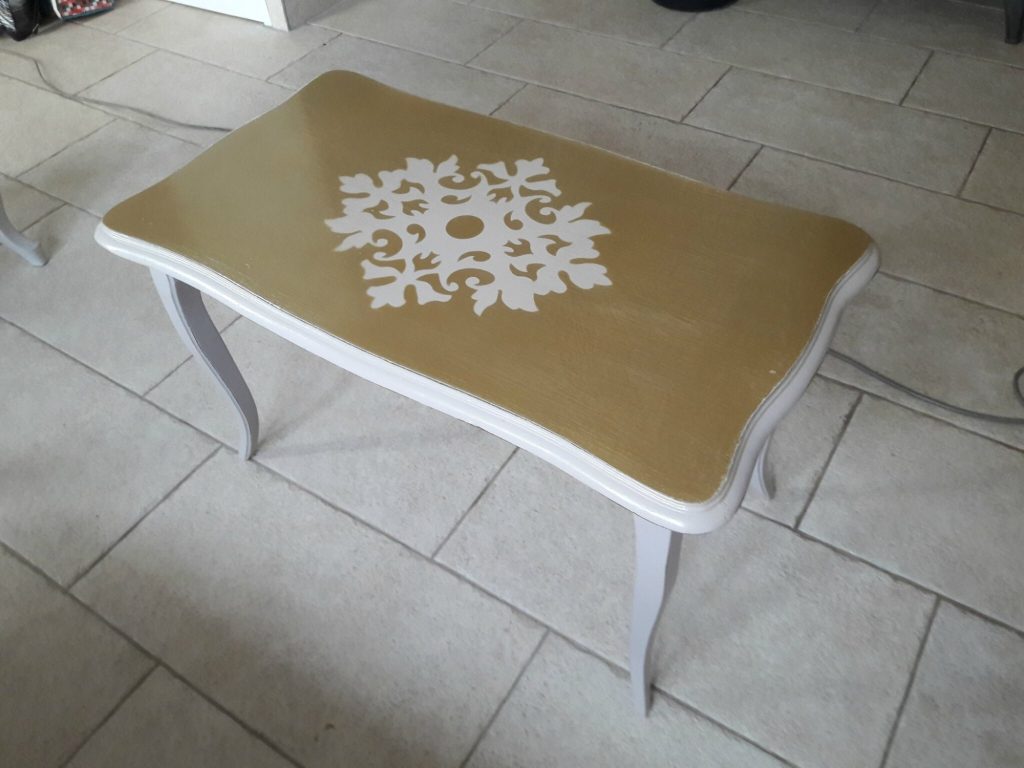
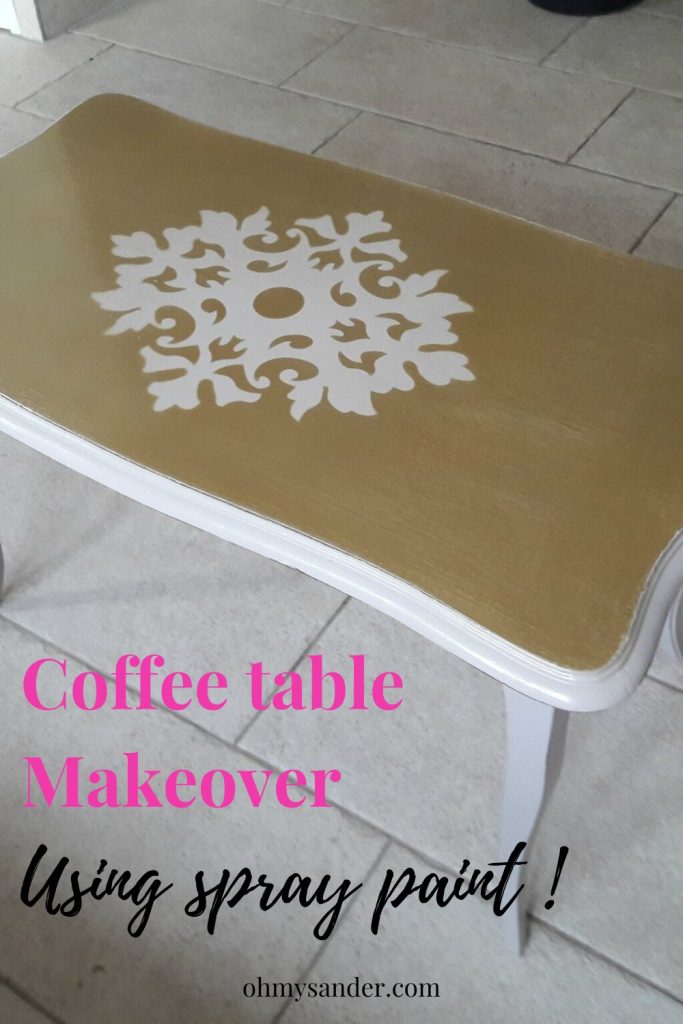
At this stage she found the result was somehow lacking taste. She thought about it for a while and got the idea of painting a design on the table top. She went through her personal stock and found this Ceiling Medallion. She decided to use it as a stencil to paint a large design on the table top. She chose to use gold spray paint to give the piece more character.

She first applied masking tape on the edges of the table because she wanted to apply gold paint only on the table top.

Distressing and Top Coat
Once the paint dried for 24 hours, Chrystele distressed around the edges and the legs of the coffee table with a piece of 220-grit sandpaper. She also sanded lightly on the table top. She wanted the table to look antique.

Once she was finished distressing, she applied one coat of matte poly to the entire table.
When I redo a table, I prefer using poly over wax to seal the piece. Wax scratches and stains easily making it not suitable for high traffic pieces like tables, consoles or nursery furniture. In the opposite, polyurethane finish is durable and water-resistant. It’s a perfect top coat for coffee tables.
Here is the final result! Ready to be installed in Chrystele’s living room.
Save this project for later!
Happy Makeover!