Wondering if you can paint over stained wood? The answer is a resounding yes! It’s not as tricky as it may seem. However, painting over stained wood does require some extra effort compared to raw, unstained wood. But fear not! I’ve got a few simple yet essential steps that will guarantee you achieve the perfect result. So keep reading and get ready to transform your stained wood into a work of art.
Table of Contents
What if I paint directly over stained wood?
If you are considering painting your grandmother’s wooden furniture or that vintage dresser you bought at the thrift store there is a high chance the wood is stained. In this case, prep is the key. Based on my experience there are 2 main reasons NOT to paint directly over stained wood.
1 – Bleed-through!
Number 1 reason is paint bleed-through. It’s one of the most common issues encountered when painting furniture. Bleed-through is a brownish or yellowish stain that peeks through your paint as it begins to dry. These stains are particularly notable on light color paint. Bleeds are one of furniture flippers’ worst nightmares. That’s why you need to be cautious when you want to paint that old brown dresser with white paint. It’s not impossible but you need to prep it right.

2 – Stain sealing
The second reason is that most stained wood furniture is sealed with wax, varnish or polyurethane. Your piece of furniture has a glossy finish? There is a good chance it is sealed with several coats of polyurethane or varnish. Yet, as you may already know, paint does not adhere well to a glossy wood finish. Even if your piece of furniture has a matte finish, it does not mean it is not sealed (some poly have a matte finish). And I would not recommend painting directly over waxed stained furniture or over matte polyurethane.
My motto is: Prep is the key!
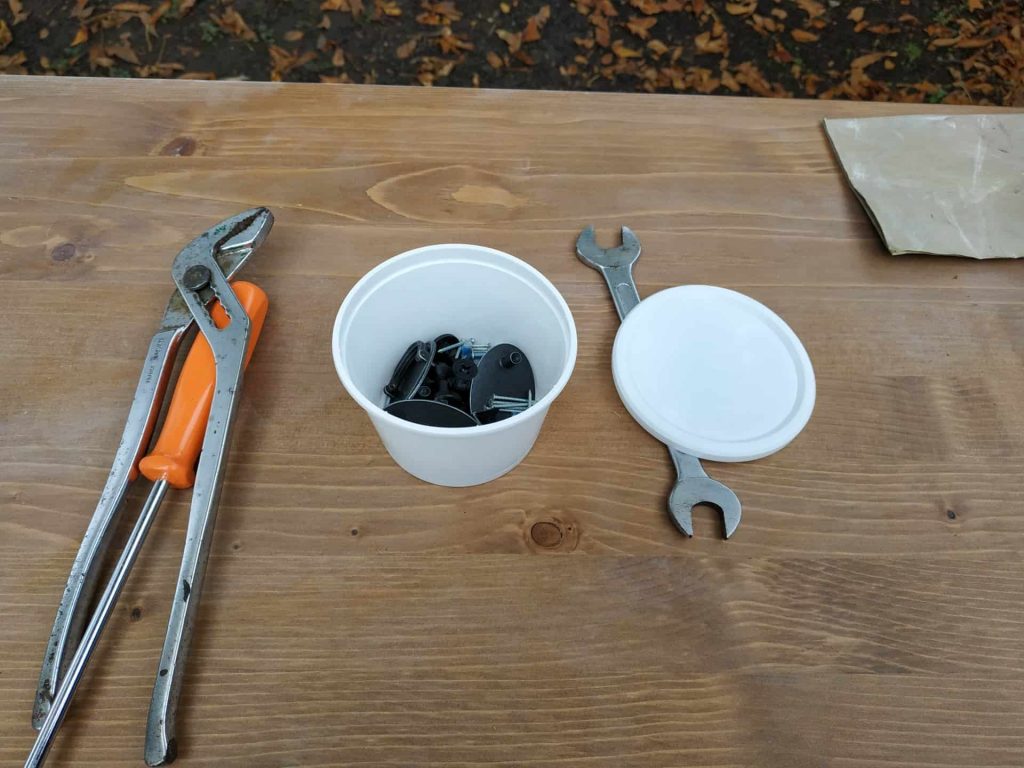
1 – First, remove hardware and drawers
Removing drawers and hardware allows an easier cleaning of your furniture. It will also facilitate the painting job. See how I dismantled this Ikea changing table before painting it in green.
2 – Clean, clean, clean
Thrift store furniture can be disgustingly dirty, requiring a thorough cleaning before you even think about painting. Start by giving your piece a meticulous vacuuming, reaching into every nook and cranny. Then, unleash the power of water mixed with white vinegar to banish all traces of grime and grease. Before diving into your repurpose or makeover project, make sure to eliminate any lingering dirt or grease. If necessary, bring out the big guns like TSP or other heavy-duty degreasers. Even though I’m not exactly thrilled about using these products (they’re toxic and terrible for the environment), they’re crucial when tackling kitchen cabinets, tables, or any furniture that’s seen its fair share of kitchen action. Remember: paint simply won’t adhere to a greasy surface. Discover how to clean dirty furniture in this blog post.
3 – Sand!
Sanding can be a pain – messy, dangerous for your lungs. But here’s the thing: most painting jobs require some light sanding. You don’t have to strip everything down. Just rough up the surface so the paint sticks. No need to go all the way to raw wood if you’re painting furniture. Lightly sand away that glossy finish and watch the paint adhere like magic.
Once you’re done with sanding, remove all sanding dust using a tack cloth. It’s important to remove dust again otherwise the paint will not adhere to the surface.
If you really really don’t want to sand, there are still 2 options available: liquid sandpaper or chalk paint.
What is liquid sandpaper?
Liquid sandpaper is no sandpaper at all. It’s a chemical solution that helps in removing glossy finish from already painted/refinished furniture. It helps new paint bond to the old finish. Liquid sandpaper will not erase the color from stained wood. However, if you plan to paint your piece, it may be an easy and non-messy alternative to sanding.
Chalk paint = no sanding?
According to chalk paint manufacturers, you don’t have to worry about sanding or priming first when using chalk paint. No sanding is required, no primer needed, they say. In fact, the reality is slightly different. Any painting job will require some sanding. I strongly recommend sanding – at least lightly – even if you plan to use chalk paint. Your makeover will last longer. No need to use your electric sander, sanding by hand with grit sandpaper is just fine.
4- Optional repairs
Now is also a good time to proceed with optional repairs like removing nails, repairing damages, and filling holes with wood filler… Once you’re done, sand again to smoothen the surface.

Primer
1 – Do I need to prime?
Absolutely! Unless you’re using chalk paint and you’ve chosen a dark color (black, dark blue), primer is always a good idea. Especially when working on stained wood.
Why is a primer crucial? It is important for the following reasons:
- Primer is usually cheaper than paint. So you will use fewer coats of paint in order to cover that old brown furniture with a light color.
- Paint will better adhere: you will get a more durable makeover.
- And last but not least, primer covers and seals the stain. Primer prevents bleed-through. Bleed-through is a very common issue encountered by furniture flippers and applying a proper primer paint will prevent bleed-through.
In short, with primer, you will get a better result while saving time and money. Remember how far you have come. You don’t want to ruin anything now. So go grab your primer paint can and prime! Do not skip this step.
2 – What is the best primer to cover stained wood?
You can use Shellac primer. According to the brand itself, Shellac-base primer is a primer-sealer, stain, and odor blocker for almost all interior wood surfaces as well as spot priming for exterior use.
You may also use regular primer paint as we did for this Carved Wood Sideboard: Painted white + Wallpaper and this Ikea changing table makeover – painted in light green. Primer paint is my favorite option when I paint stained wood furniture or woods with high tannin content. It’s quite cheap compared to regular paint and trouble saving.
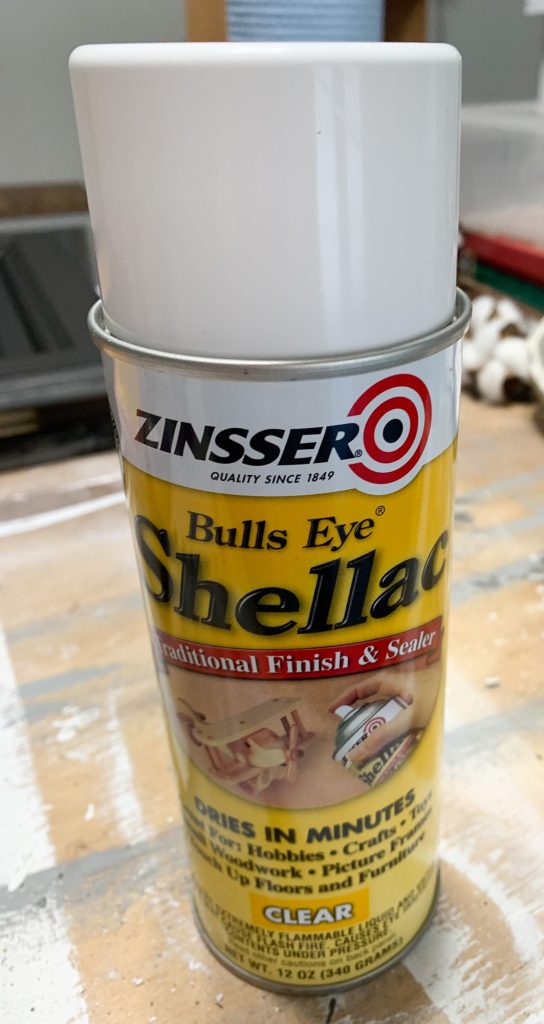
Christina likes using Zinsser Bulls Eye Clear Shellac as a primer and she used it for several paint projects including this Vintage Buffet Makeover: painted white. While Bulls Eye Clear Shellac was intended to be used a primer, it is popular among furniture flippers. When you chose a bright color for your piece of furniture and plan to distress it, Bulls Eye Clear Shellac may be a good option. With this product, there is no risk to see the primer through your paint when you distress your piece of furniture with sandpaper. I personally prefer applying a proper primer paint.
If you are looking for a clear stain blocker, you can try this product called BOSS from Dixie Belle Paint Company. It goes white and dries clear. And this product also help to get the smell out of old furniture. What more can you ask for?
I’m not the only one recommending priming. Sophie, who is full a time furniture flipper, is also a big fan of this technique. She always applies primer before painting as she did for this lovely nightstands makeover in grey.

A lot of primers are oil-based. Oil-based primers are the most effective at preventing bleed-through. These primers usually have a strong odor and it is recommended to apply them in a well-ventilated space (wearing a mask and gloves is also highly recommended). Not to mention you will need to clean your brushes with mineral spirits or turpentine. If you are dealing with an oil-based stain, I would recommend applying oil-based primer. You may use water-based primer when dealing with water-based stains. If you have any doubt, I suggest you go for an oil-based primer. Although I find oil-based primers harder to work with than water-based primers, they offer the best results. So it is worth the additional efforts.
My recommended primer paints (2 oil based and 1 water-based):
 Buy Now →
Zinsser B-I-N Shellac-Base Oil Primer
Buy Now → Buy Now →
 3 – Test for chalk paint bleed through
If you still don’t want to prime and you are considering using chalk paint, you may run a test for chalk bleed through. Apply some chalk paint on several areas of your furniture and wait for the paint to dry. If you see red or brown spots coming through the fresh paint, just stop painting. At this point, you’ll probably want to apply more and more layers of paint to cover those annoying stains. But trust me, it’s not going to fix it! Stain or wood tannin will keep coming up. I find it very annoying as well. In this case, just prime. You will save plenty of time and money (yep, chalk paint is expensive).
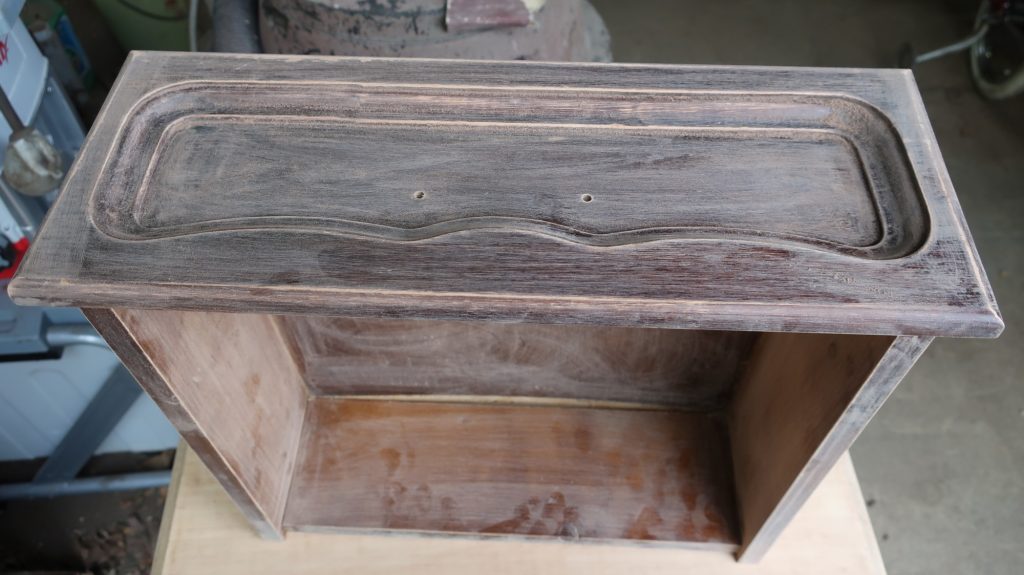
Here how my carved sideboard doors looked after applying one coat of primer. Check out the after Here.

The best way to fix bleed-through is to seal. Apply a stain-blocking primer all over your piece of furniture and consider you are done with prepping your piece. I would recommend letting the primer dry overnight. Take a beer or a fresh coke and enjoy! The next day, you will be able to start painting.
Paint and Seal
Today is the big day. You are finally ready to paint. Once the primer is dry, you can paint your stained wood furniture like any other one.
Save this post for later!

Happy Makeover!


