
Transforming an outdated and boring dresser into a beautiful statement piece is easier than you may think. With the right supplies and a little bit of creativity, you can give your tapered legs vintage dresser an eye-catching makeover that will be the envy of your friends and family. Follow our step-buy-step tutorial!
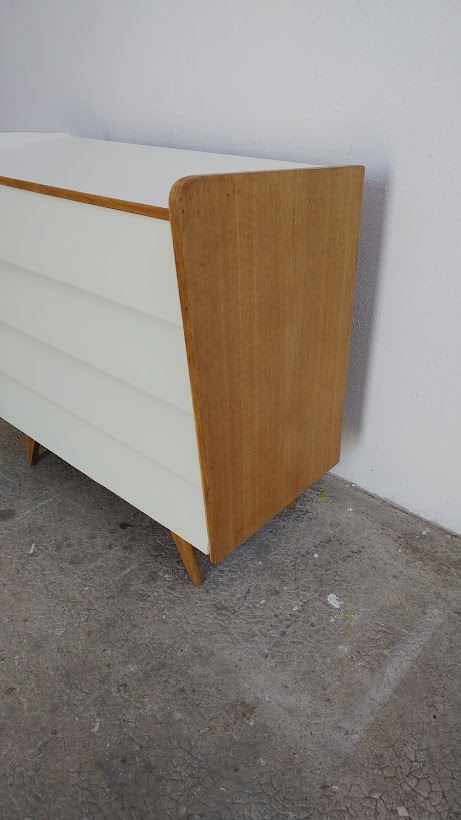
Today’s makeover candidate is a vintage dresser with tapered legs. It looks like a typical piece of furniture from 1960’s or 1970’s. It is made of solid wood and plywood. The plain raw wood looks massive and boring not mentioning the outdated dark honey old finish. The drawer fronts look very minimalist with no hardware. Maybe too minimalist for our friend Amelie who decided to give dresser a well deserved makeover.
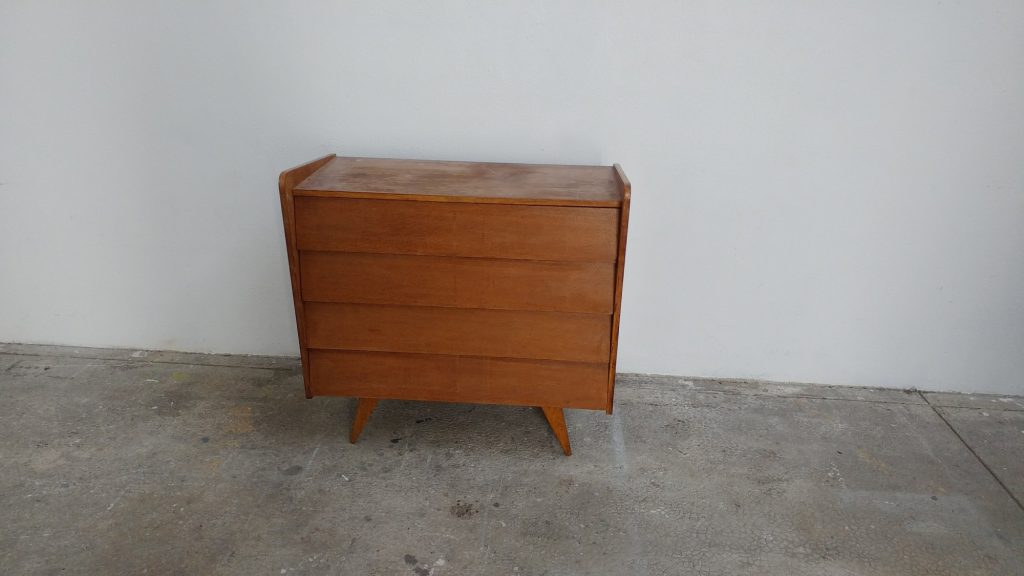
Table of Contents
Supplies and Tools Used for this Makeover


")
![Chalk Style Paint - for Furniture, Home Decor, Crafts - Eco-Friendly - All-in-One - No Wax Needed (Simplicity [White], Sample (4 oz))](https://cdn.shortpixel.ai/spai/q_lossless+ret_img+to_webp/m.media-amazon.com/images/I/41FHDLh55YL._SL160_.jpg "Chalk Style Paint - for Furniture, Home Decor, Crafts - Eco-Friendly - All-in-One - No Wax Needed (Simplicity [White], Sample (4 oz))")
")

1/Prep Work
1) Cleaning the old tapered legs dresser
First, Amelie thoroughly cleaned the dresser and removed any dirt or debris that may have accumulated over time. Vacuuming and regular degreaser are great for this task! Discover how we clean old grungy furniture Here.
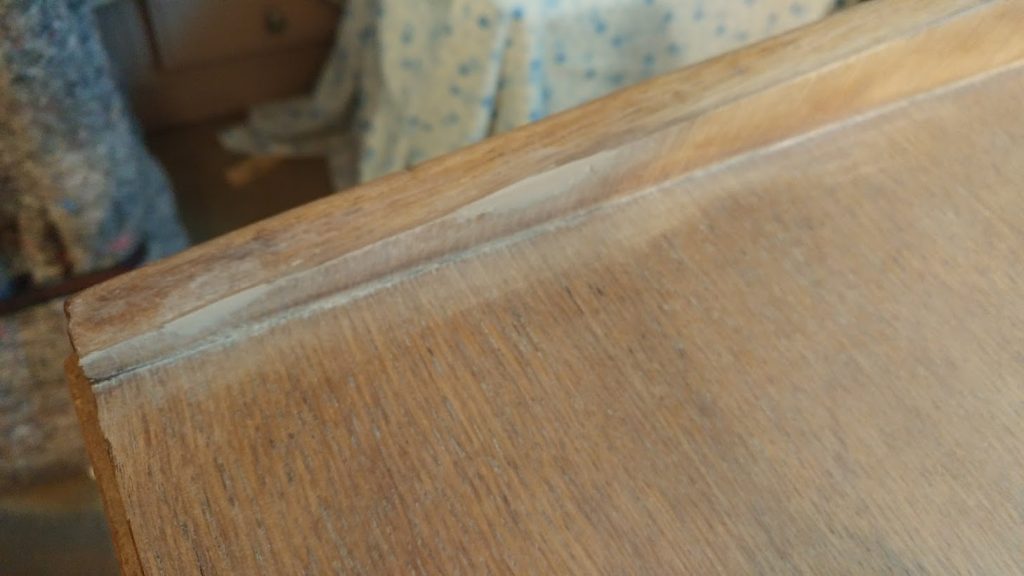
2) Repairs and small fixing
As is often the case with wood veneer, there were some veneer damages. Nothing serious, just the usual chipped veneer and stains on the top. Amelie filled in holes and repaired wood veneer damages with wood filler
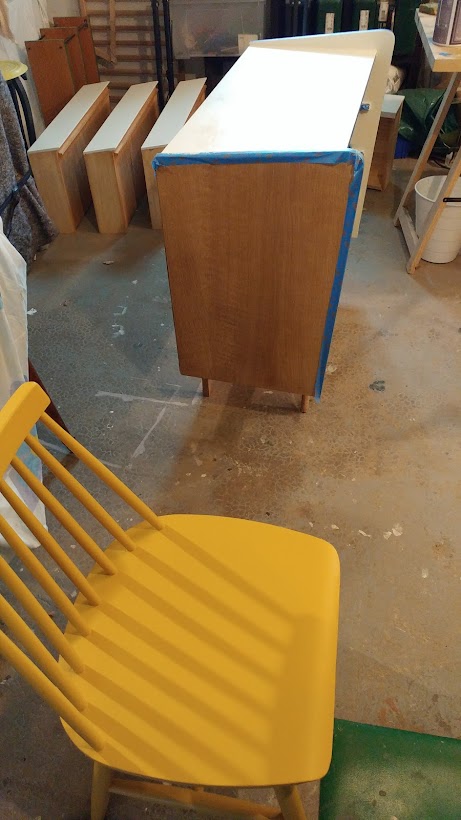
3) Sanding the entire dresser
Once all repairs have been made, Amelie sanded the entire piece – from the top of the dresser all the way down to the tapered legs. She started with a 120-grit sandpaper to remove the old finish before working her way up to finer 180-grit sandpaper for a smooth finish. Remember you need to be careful when sanding veneer because it is much more fragile than solid wood. Depending on its thickness, you can indeed easily sand through the underlying core of the specific piece you’re sanding. Check out this blog post to learn how to sand veneer.

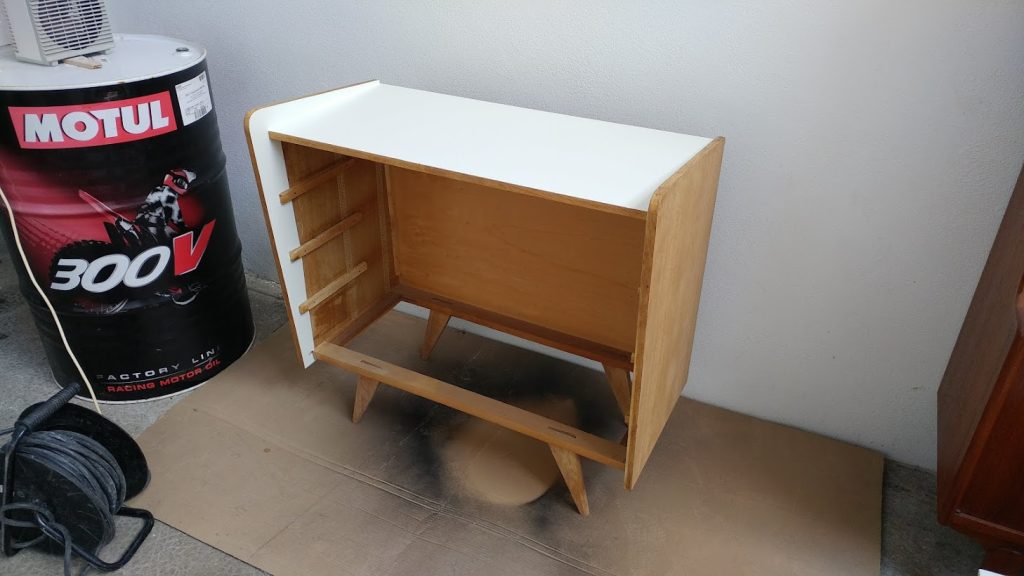
4) Priming
Amelie explained she was not sure about the wood type. She thought it was oak wood veneer but she wasn’t 100% sure. Better safe than sorry. Since she wanted to paint the piece white, she decided to prime before painting.
2/Makeover process : Painting & Wallpaper
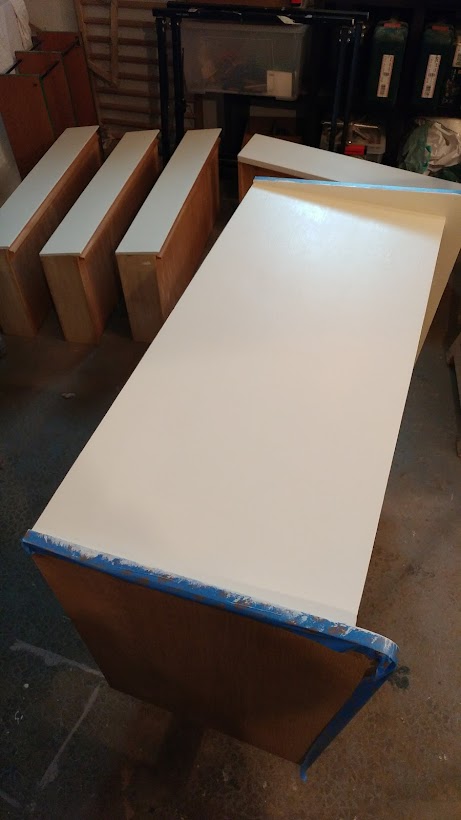
1) Painting
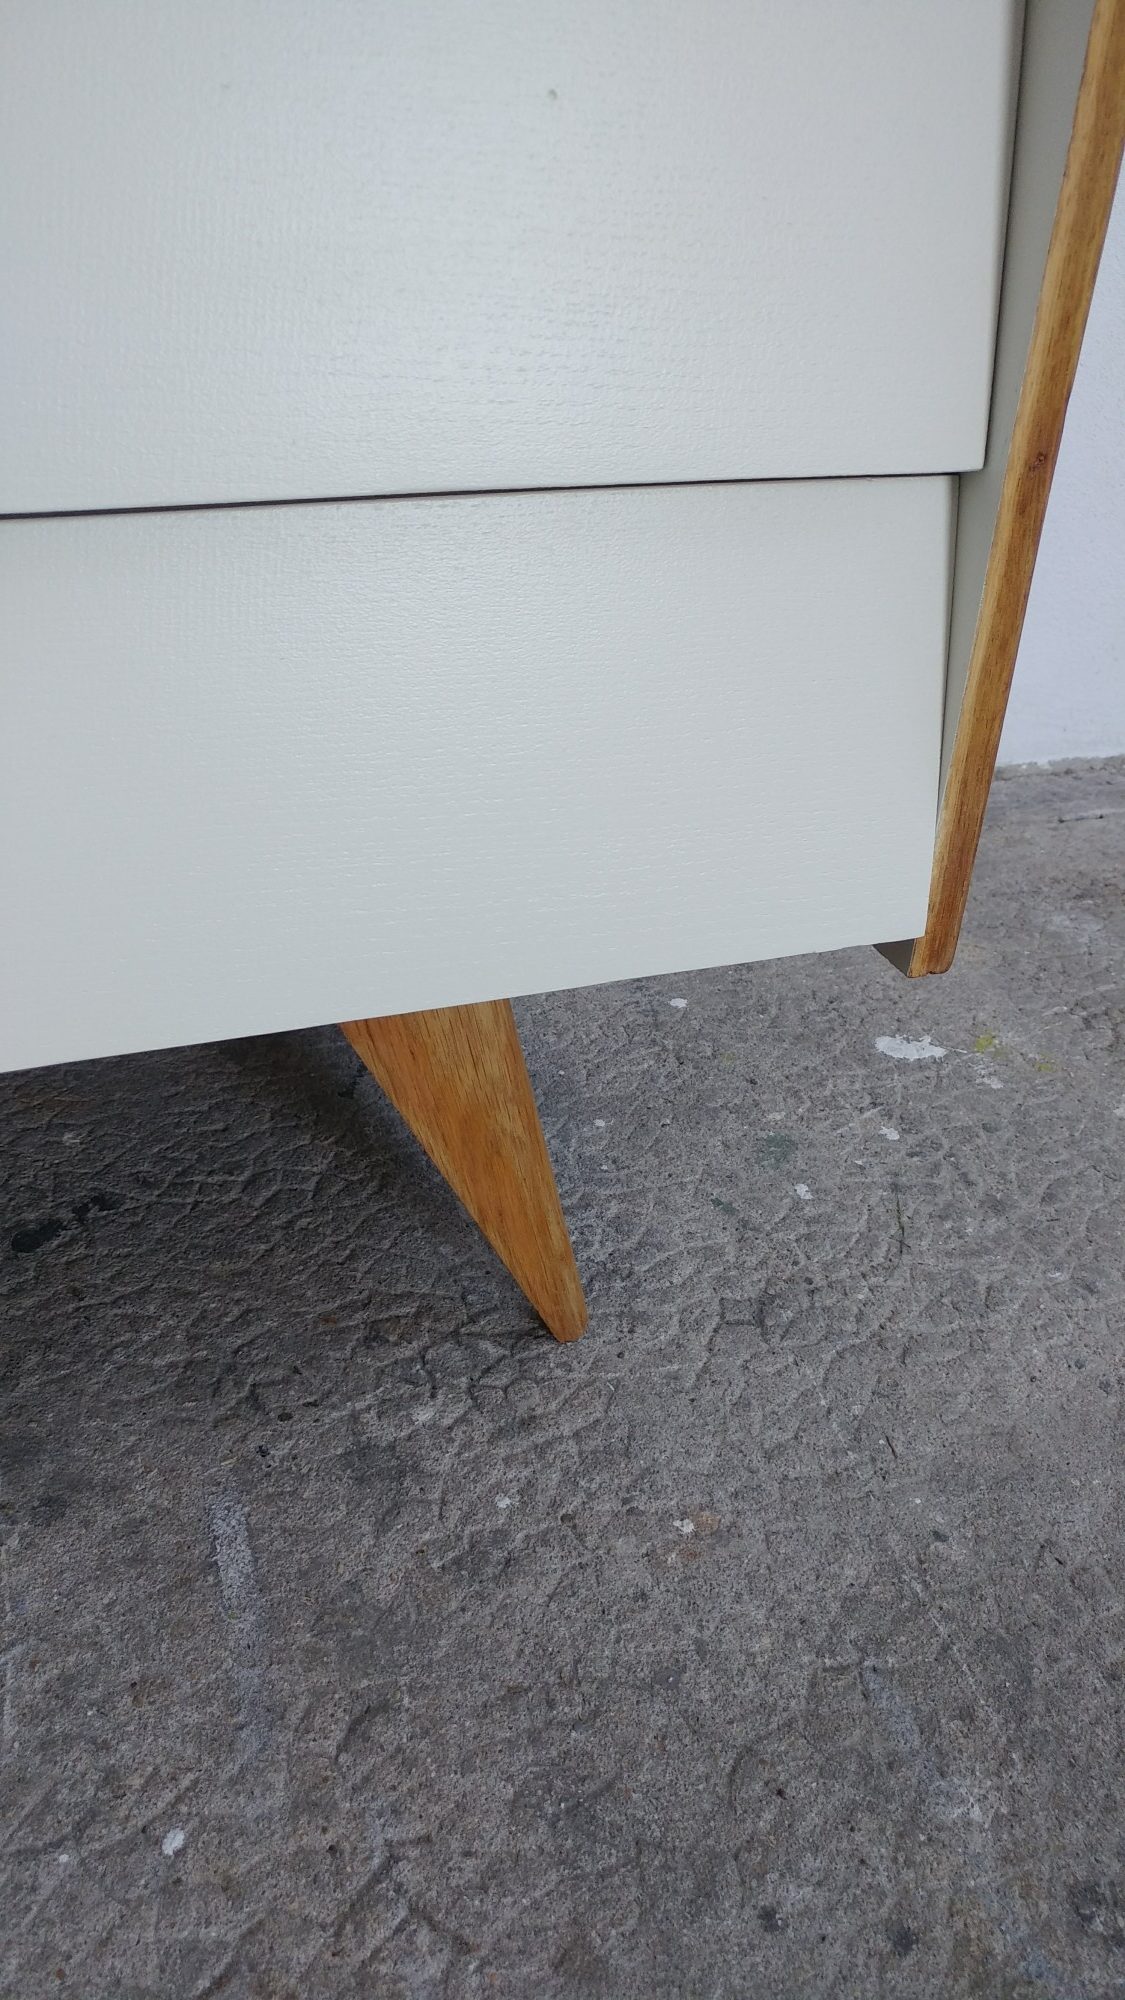
Now that all of the prep work is done, it was time to get creative with this makeover project! Amelie chose to paint the piece white, leaving the dresser sides, the legs and the front side of the top with natural wood finish. She applied 2 coats of paint for a better finish and extra protection.
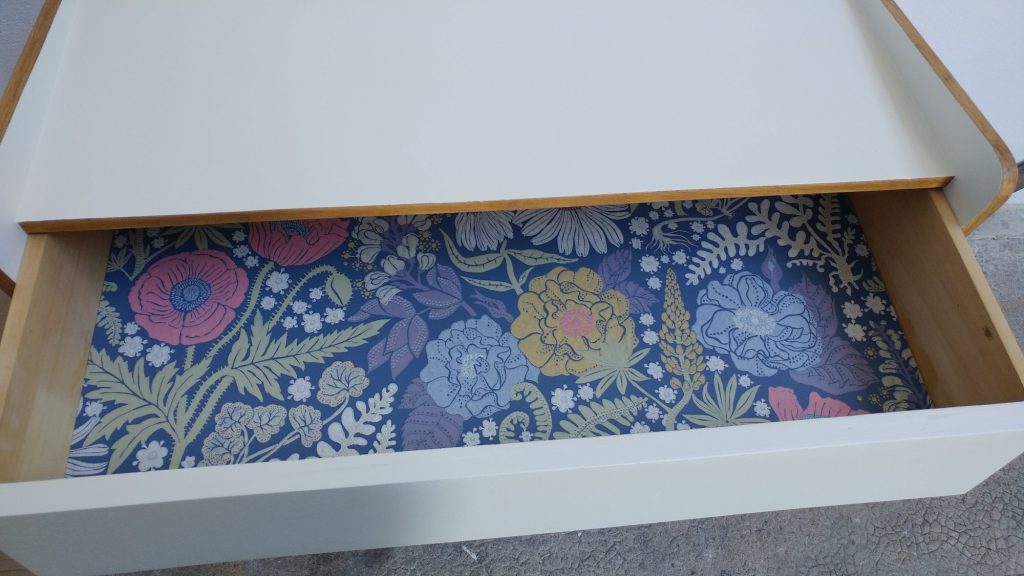
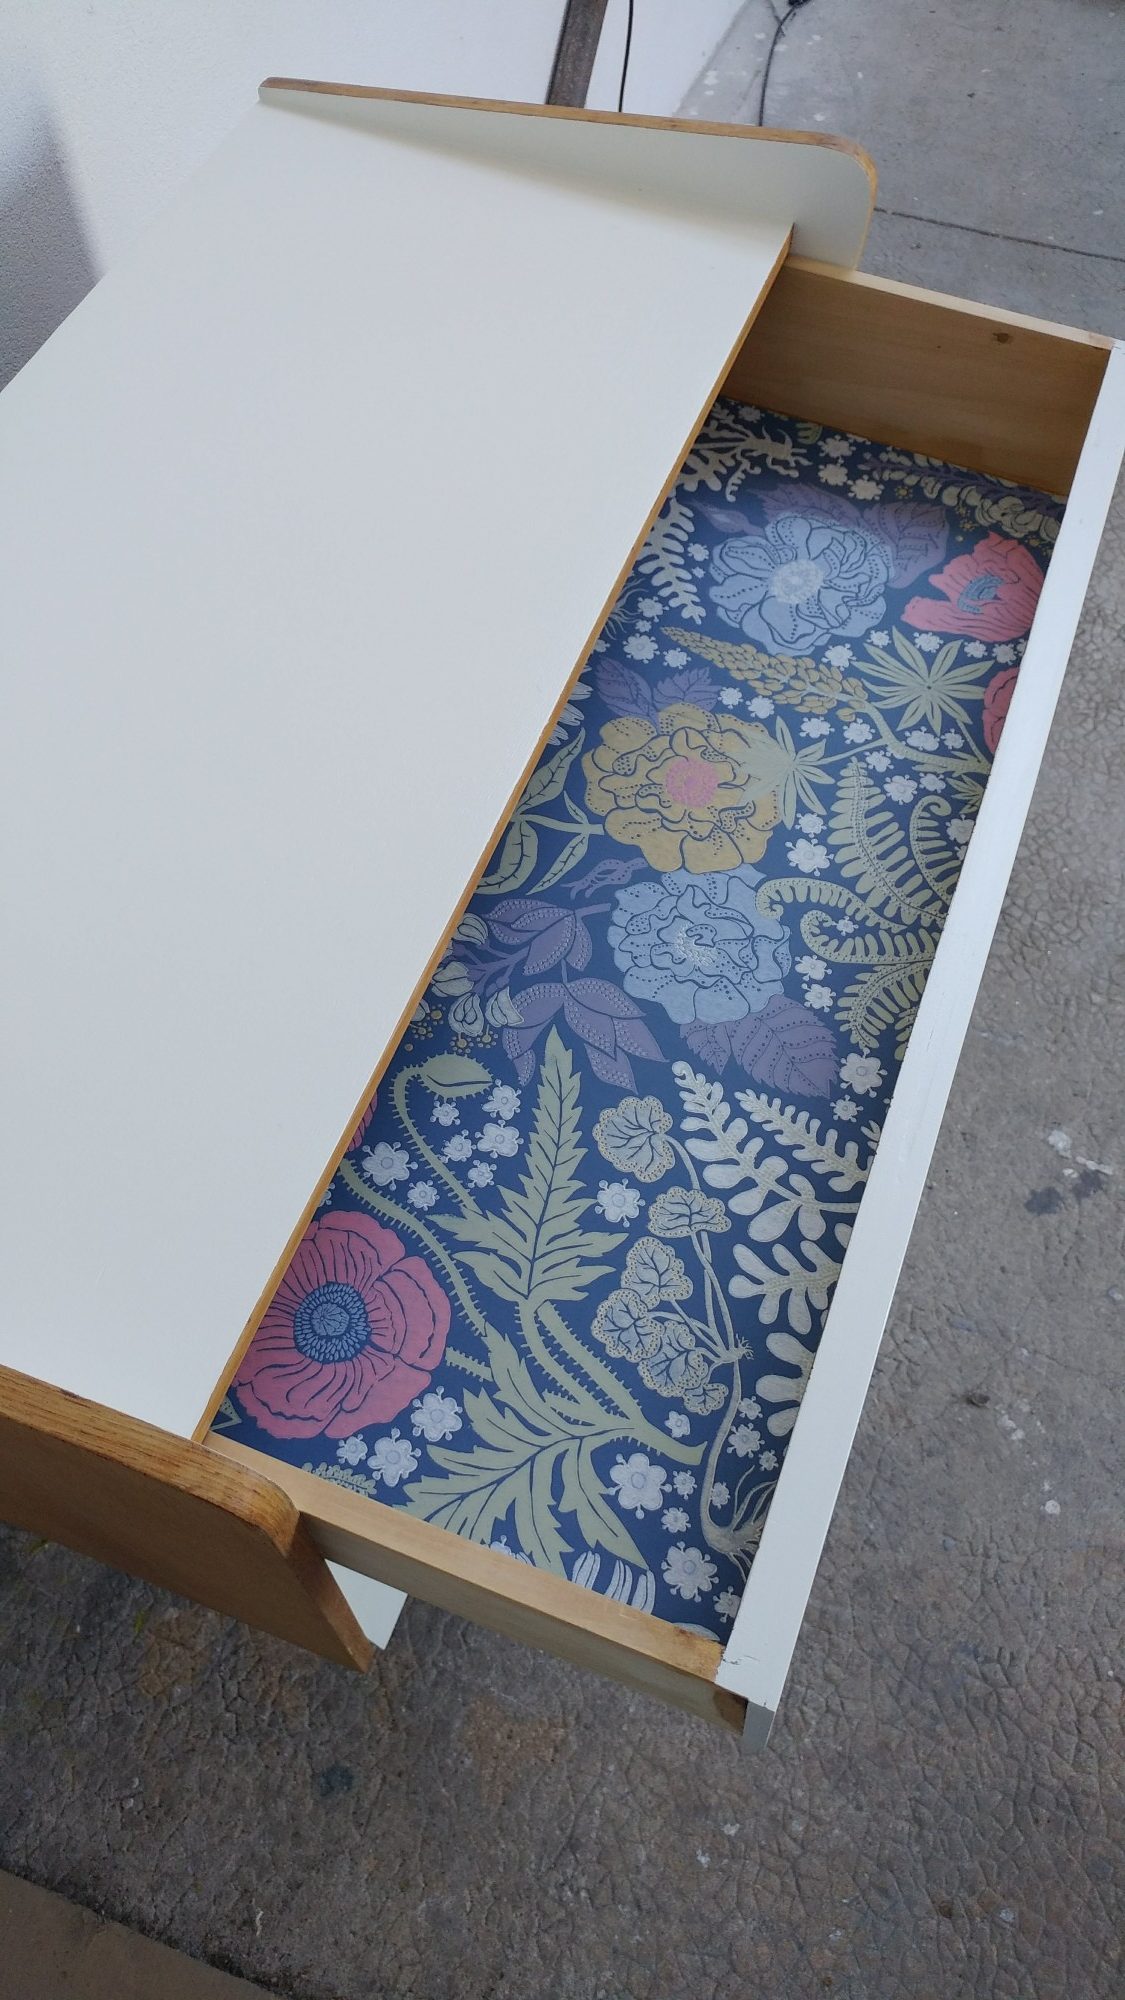
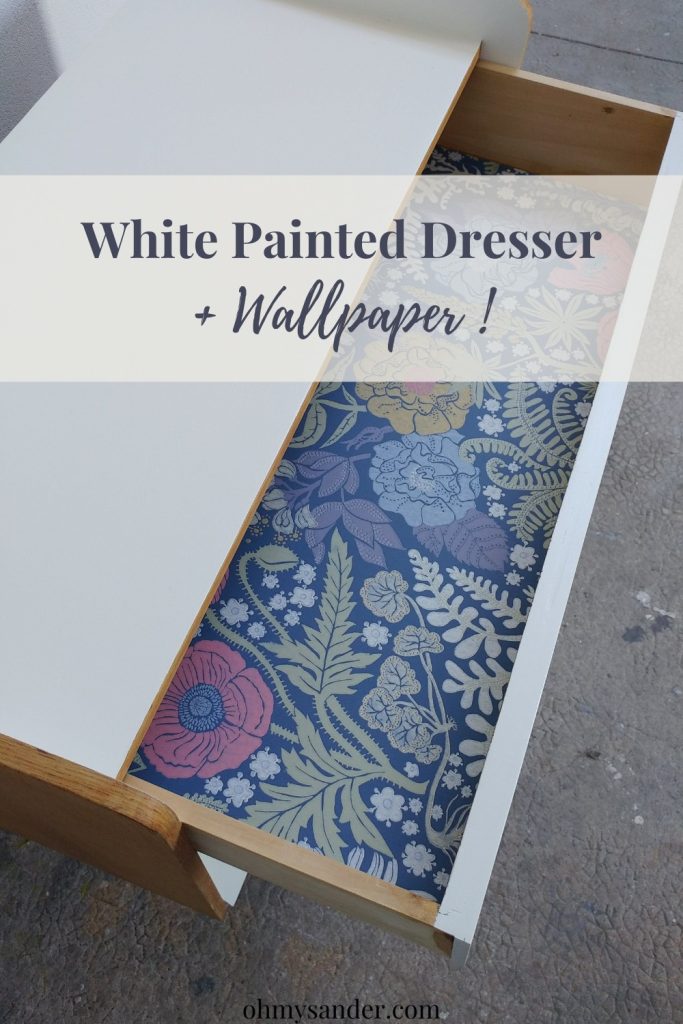
For more fun, she added a beautiful patterned wallpaper inside the drawers. Applying wallpaper to furniture pieces is actually surprisingly easy. Just measure the area you’d like to cover, add a 1 inch error margin and cut the paper accordingly. Apply your paper and cut the extra using an utility knife. To finish off the application process, simply use wallpaper adhesive or wood glue and press firmly into place. I really like this floral pattern chosen by Amelie.
2) Topcoat and Finishing Touches
Amelie let the paint dry for 24 hours and then sealed the entire piece with satin sheen top coat. This will help keep it looking its best for years to come.
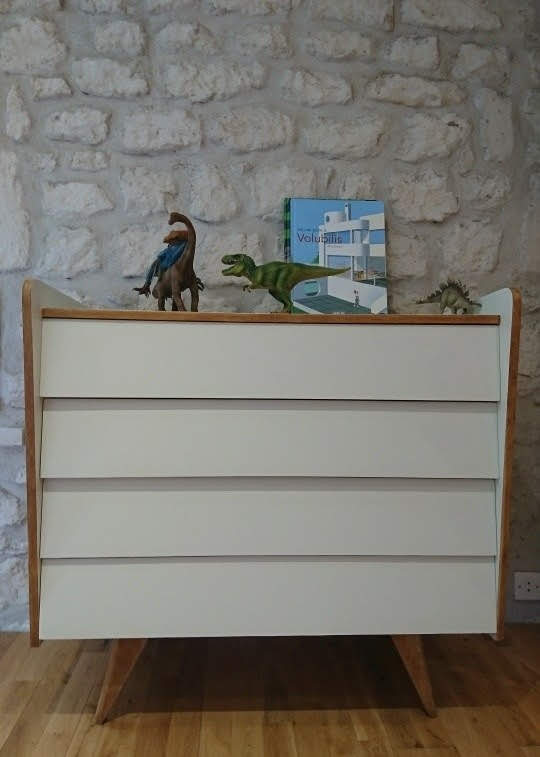
The old fashioned tapered legs dresser now looks good as new! The outcome is fresh and original. The dresser kept its original design but the old outdated dark yellow finish is gone.
This is the perfect piece of furniture for a teenage girl bedroom or a big bathroom!
Save this project for later!
Happy Makeover!


