That’s another question I’ve been asked a lot. And my answer is yes, you can sand veneer. You just need to be careful when sanding veneer because it is much more fragile than solid wood. Depending on its thickness, you can indeed easily sand through the underlying core of the specific piece you’re sanding. Read through to learn the best sanding method for veneer through examples (with pictures!) and make 100% sure that you are indeed dealing with veneer.
Table of Contents
What is veneer?
Veneer is a thin layer of natural wood (most often hardwood) that covers a thicker core of particleboard, plywood, or cheaper wood, making it look like a solid piece of the wood used in the veneer layer.
Veneer is a very common technique used in furniture making. Some woods, like walnut or mahogany, are very popular but quite expensive. Veneer makes it possible to have a piece of furniture that looks nicer for a reasonable cost because only the visible parts are made of expensive/refined wood. The structure of the furniture itself is made of less expensive material. In other words, veneered furniture is made of particle board, plywood, or cheap solid wood, like pine, birch, or poplar wood, covered by a thin layer of more valuable wood.
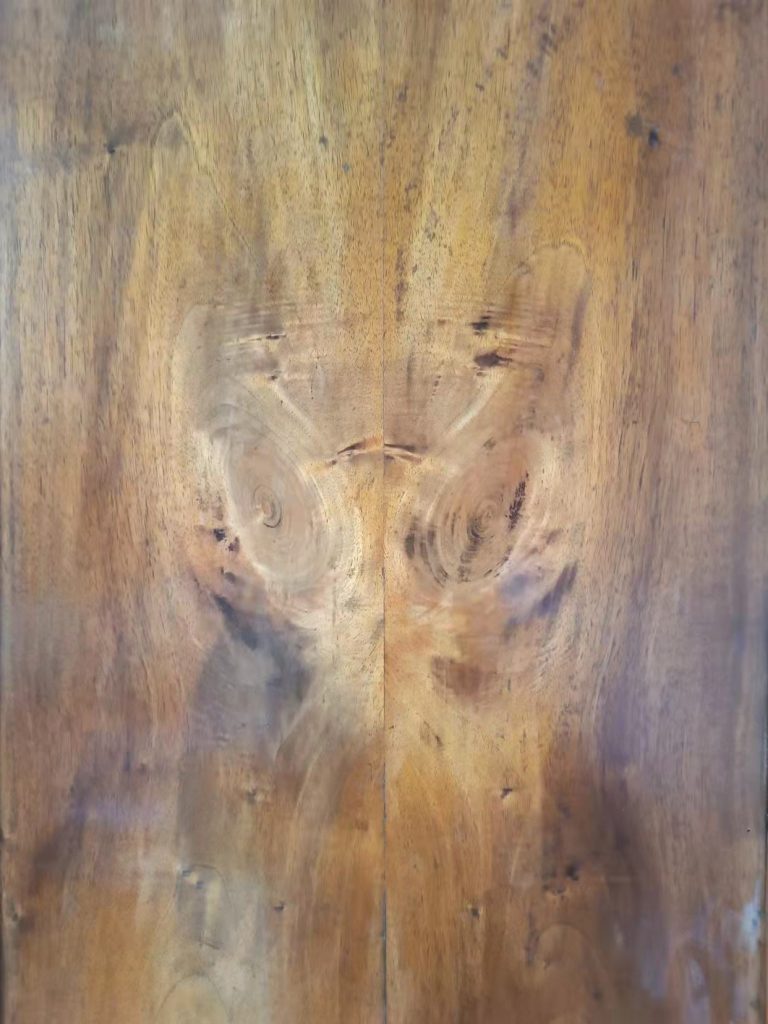
Christina removed the damaged veneer from this old dresser before painting it two-tones. You can see it is actually made of solid wood, most certainly poplar.

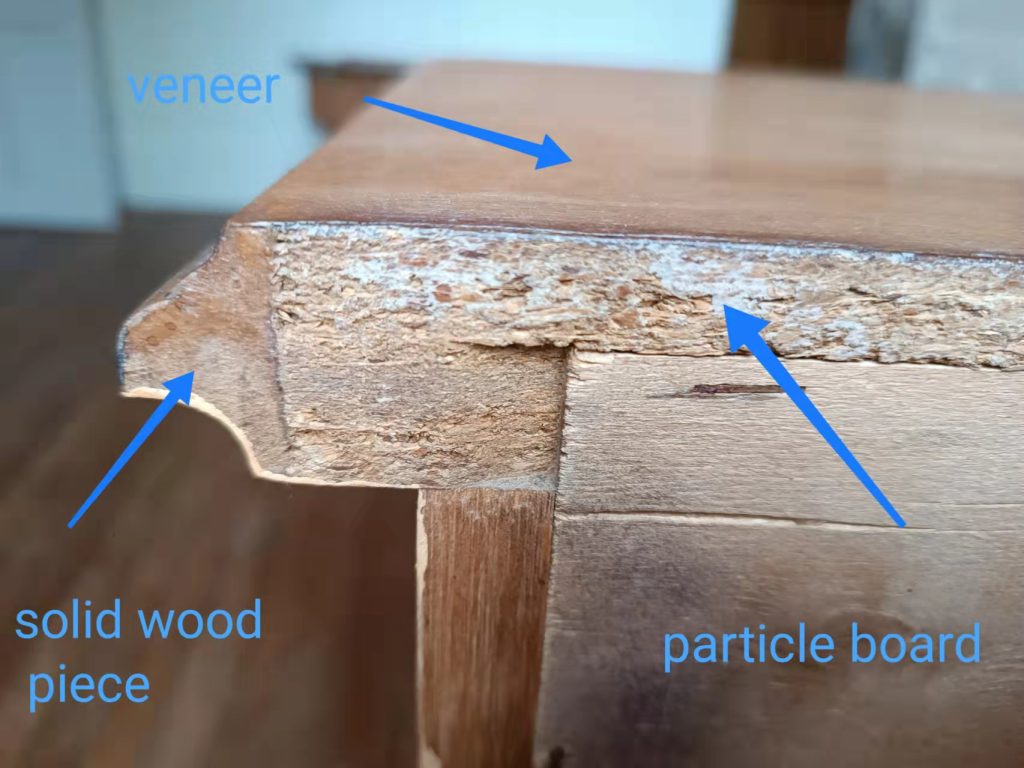
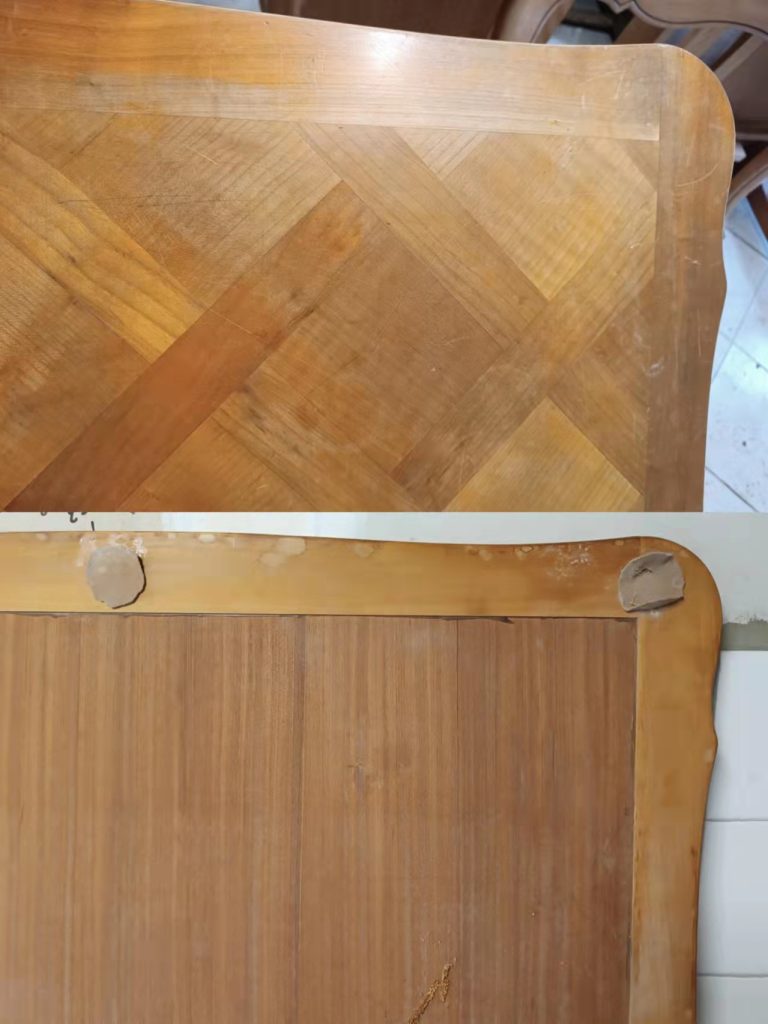
The top of this small dresser I painted in yellow is actually made of particleboard covered with a thin layer of veneer.
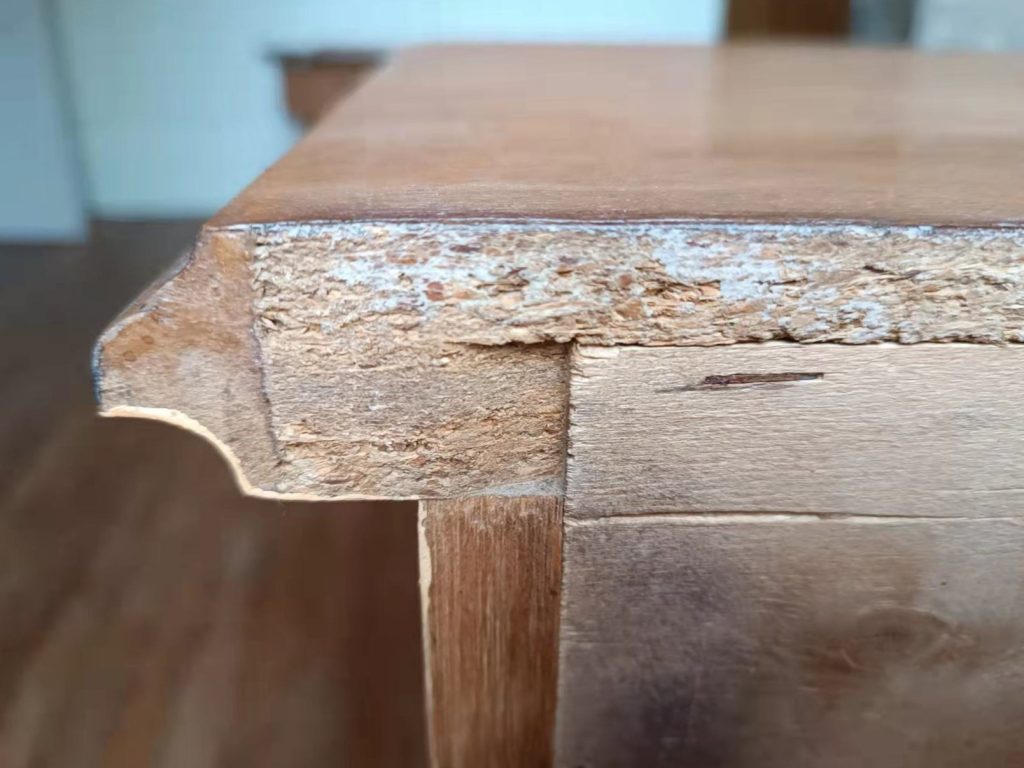
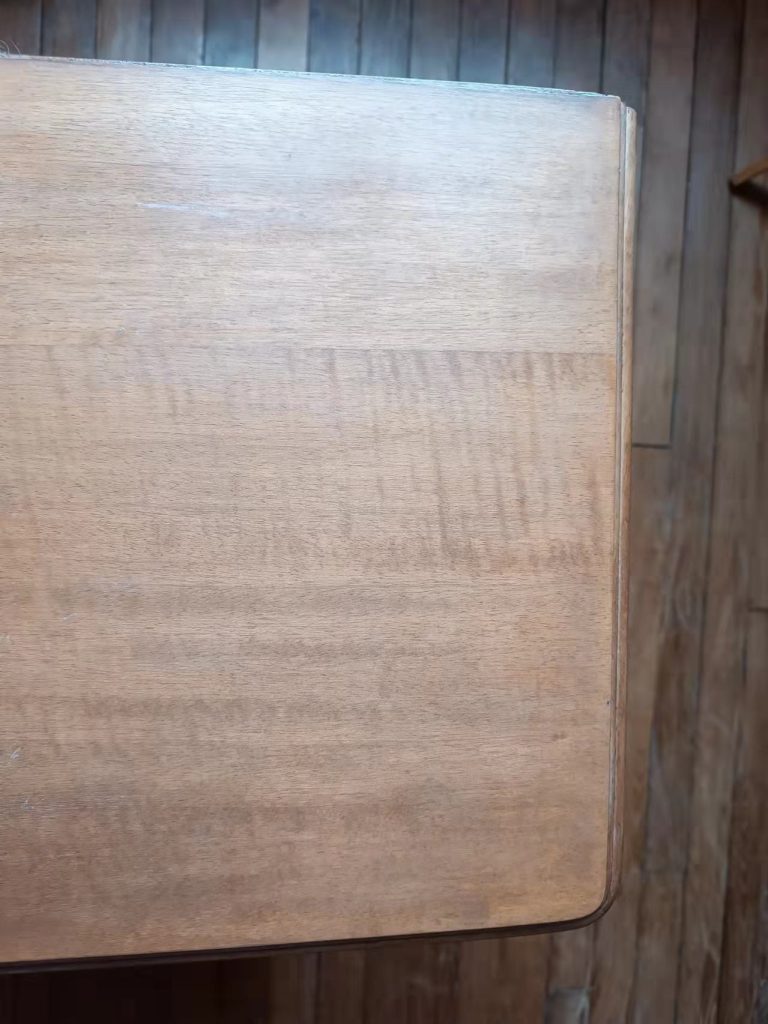
Here is how it looks from the top. It really looks like solid wood.
What kind of furniture is veneered?
Often associated with cheaply manufactured furniture, veneer actually dates back to Ancient Egypt, around 3000 BC. Veneering techniques were further improved in the 17th century as better tools were developed. During the 18th and 19th centuries, veneer was used to produce the most sophisticated marquetry furniture.
Beautiful examples of refined marquetry furniture can be seen at Chateau de Versailles (France) like this stunning desk crafted between 1760 and 1769 and which belonged to King Louis XV.

With the growth of industrialization and mechanization by the end of the 19th century, it became less and less expensive to produce veneer and plywood furniture. Veneered furniture has therefore become increasingly common.
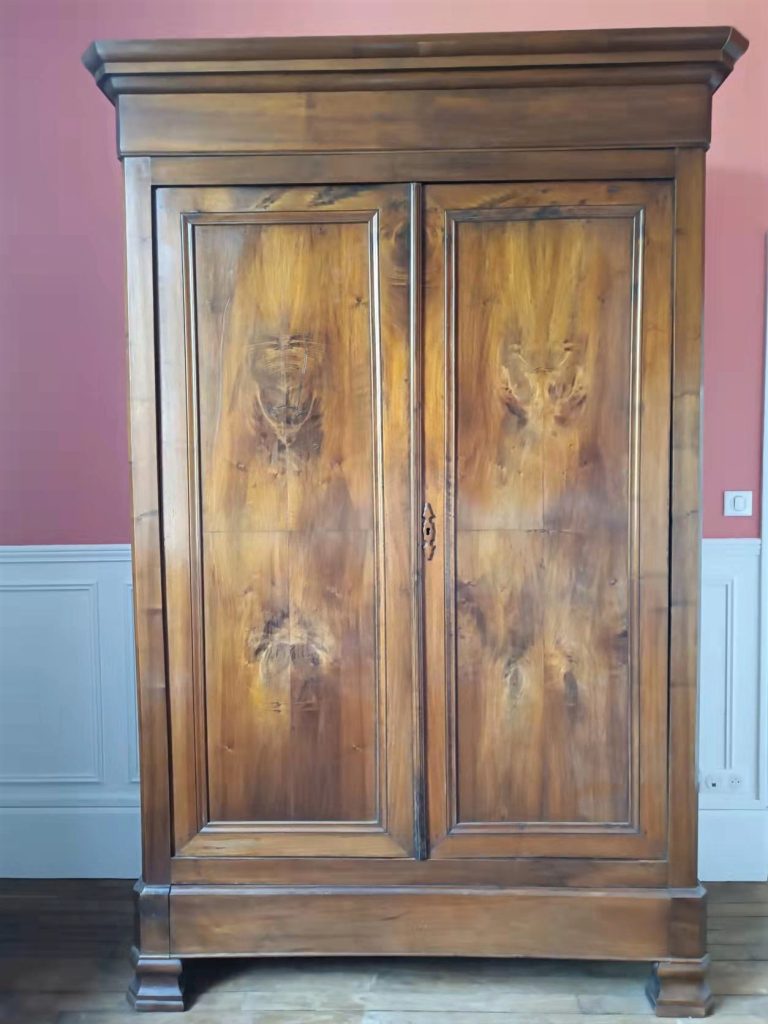
This is a typical French wardrobe with veneered walnut doors manufactured end of the 19th century
Wood veneer furniture is also very common in mid-century furniture. Danish Mid Century Modern furniture, still popular today, is often made with teak or rosewood veneer glued over less expensive wood like pine, plywood, or particle board. The veneer was then used to create stunning designs by playing with patterns in the wood grain.
If you’re a fan of mid-century furniture, I strongly suggest you to checking the Dashner Design & Restoration website and his Youtube channel. He restored countless mid-century pieces, often veneered and his videos are fascinating.
How can you tell if your piece of furniture is veneered?
Here are some tips and advice to identify if the piece of furniture you have in front of you is actually layered with veneer:
- 1. Look at the back of the piece & the edges: if it’s veneered, the veneer is typically discontinued at the back, or the angle in the grain will reveal the veneer layer. If you see the graining on the top carries through on the edge, it is made of solid wood.
- Look at the pattern of the wood. If the surface of the piece has the same grain pattern across all sides, chances are it’s veneer. A piece that looks to be made from a very large plank is also a hint of veneering. Repeated identical wood patterns are also a sign (veneer is actually wood cut into rolls).
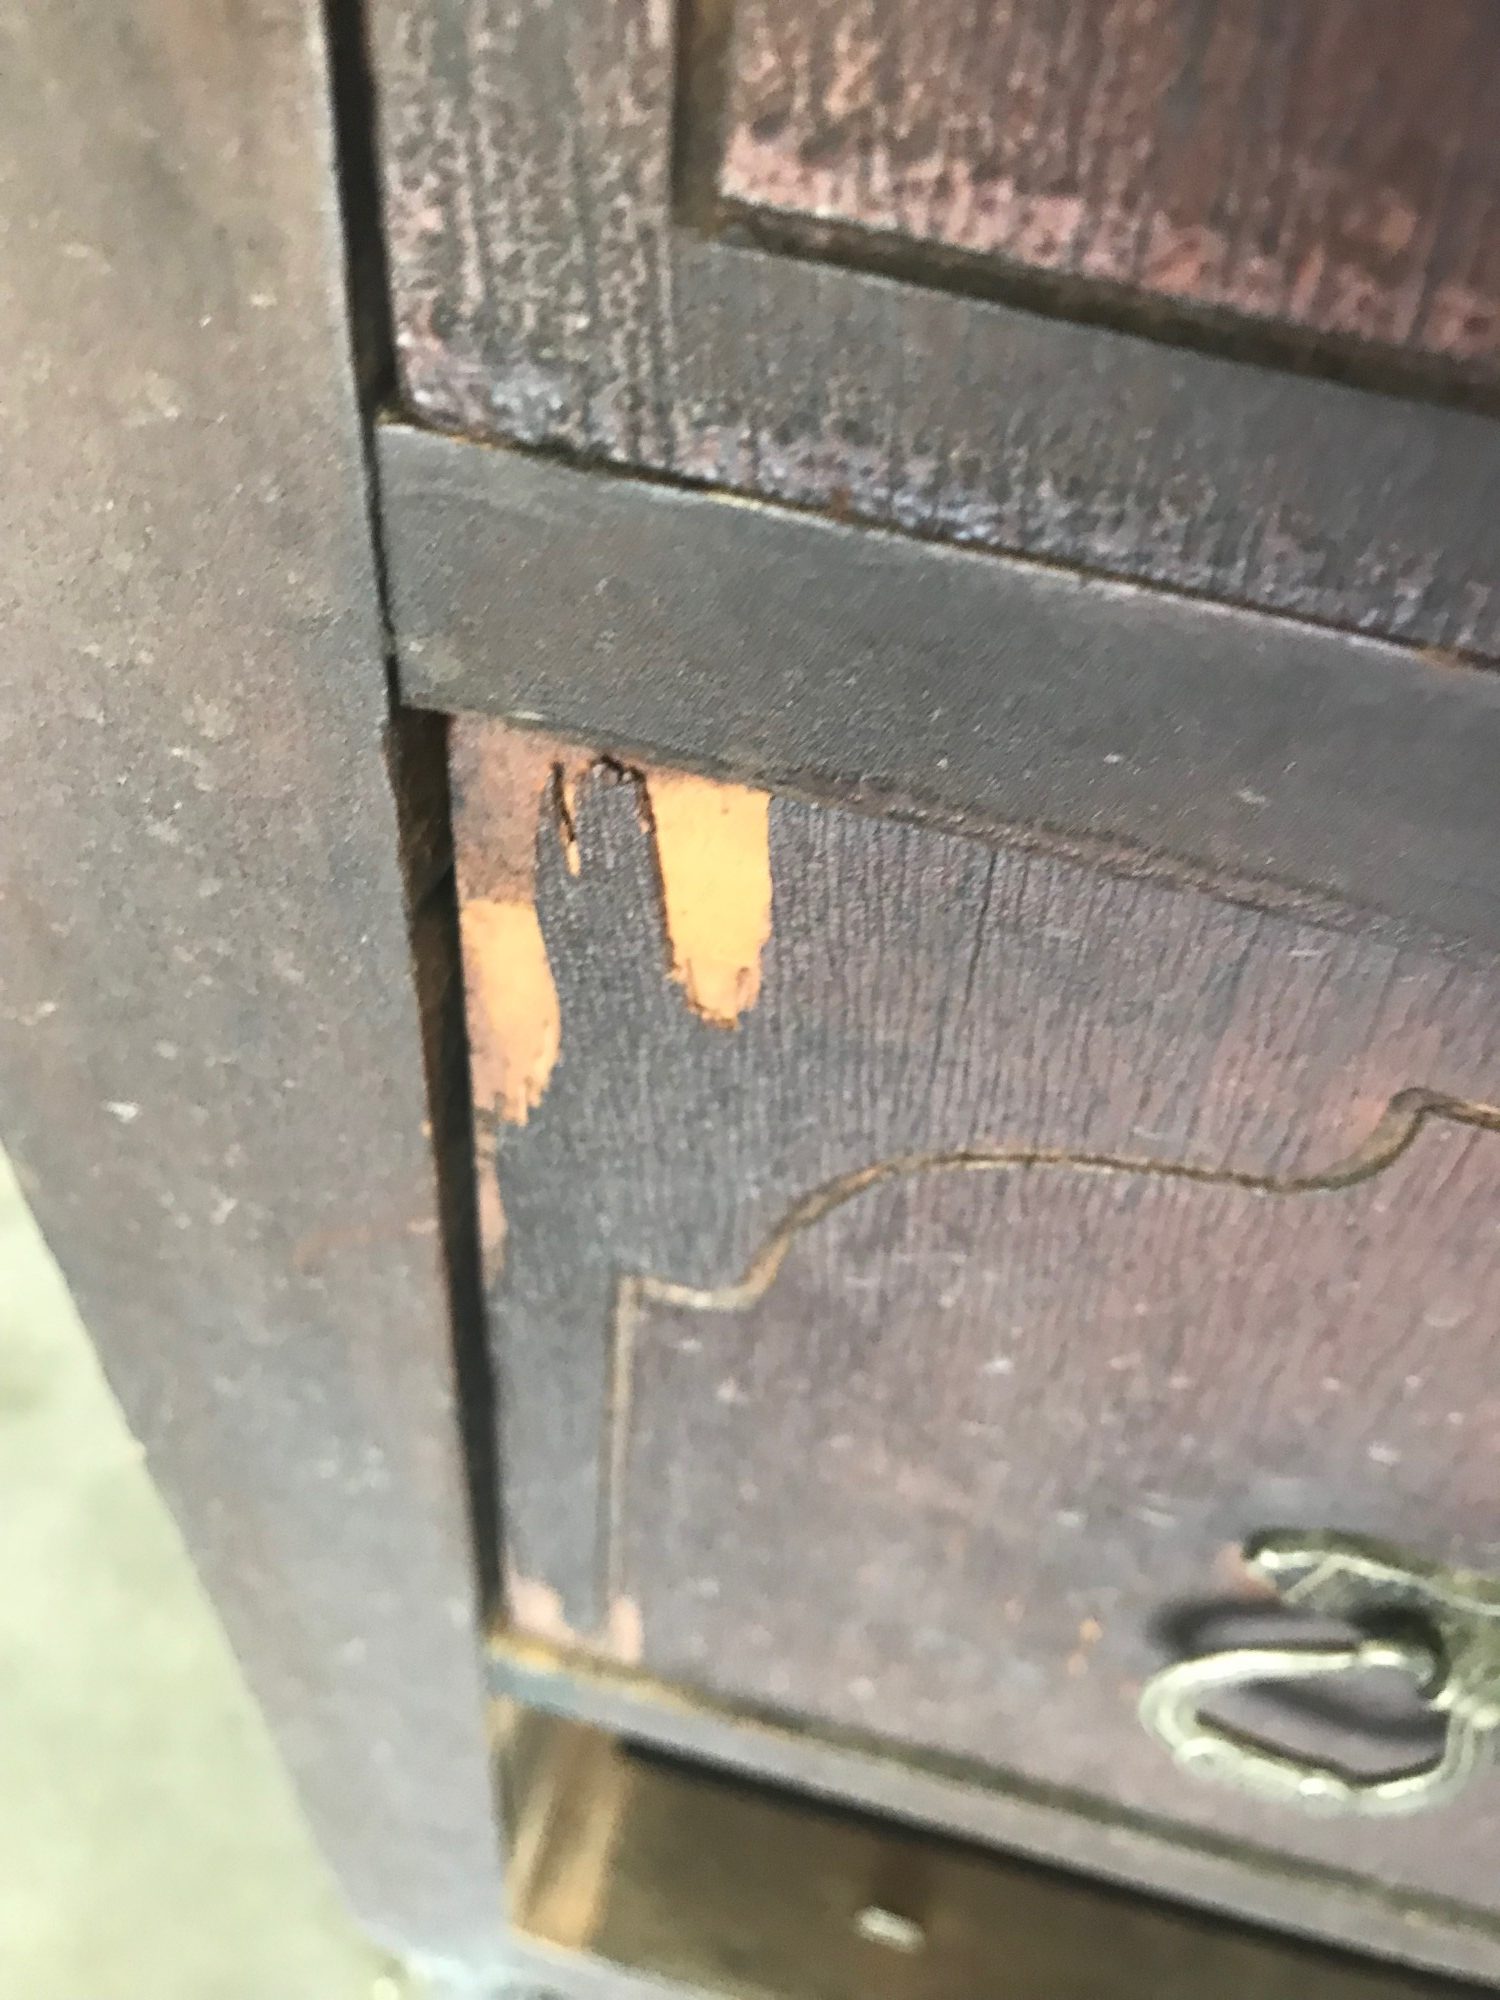
- Chipping damage is typical of veneered furniture.
- Look for glue lines that have another color or texture.

- Look at the underside of the piece. Does it look like the same piece of wood as the top? If not, then it’s probably layered with veneer. Veneered tops will usually have a nicer wood on top (such as teak, walnut, or rosewood) and a less expensive/less attractive board on the bottom.
Do not confuse veneer with laminate.
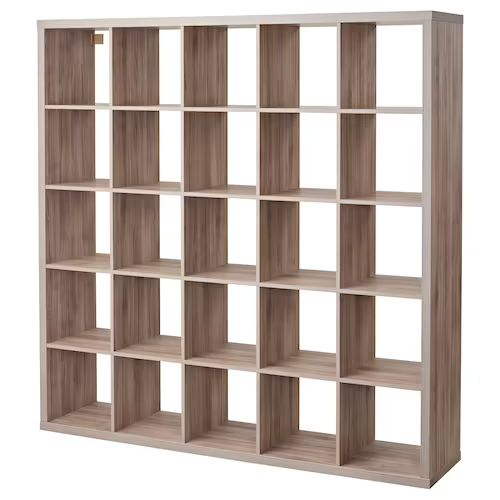
While veneer is actually made of real wood, wood laminate is a product – usually plastic – designed to look like wood. The build quality is totally different. Laminate is commonly used to manufacture cabinets, desks, shelving units, and other ready-to-assemble furniture sold by discount furniture retailers. It often covers particle boards, not solid wood. One example of laminate furniture is this famous IKEA Kallax shelf unit made of particleboard and paper foil (cellulose papers impregnated with amino-plastic resins). Some laminate imitates wood to perfection but with a little practice, it is easy to distinguish actual wood from laminate.
I’m not saying particle board furniture is not robust but laminate is usually not as long-lasting as veneer and is not repairable. So it’s important to know the difference when you go thrift shopping.
Okay, veneer is actually wood, so is there a reason not to sand it?
As I said earlier, you can sand veneer but you need to be careful.
How to sand veneer the safest way
First, you should check for the veneer thickness: it varies from 0.5 mm (1/64 inch) to 8 mm (1/3 inch). The standard thickness nowadays is 0.6 mm (1/32 inch.) which is quite thin. Hence, do not start sanding with 40-grit sandpaper. Even an 80-grit may be a little too harsh for most veneers. I recommend that you start sanding using a 120-grit and slowly working your way up to a 220-grit. Start sanding by hand, on a concealed part of your furniture if possible. Once you are familiar with the finish you want to remove and the veneer thickness, you can start using your electric sander.
Remember that veneer is really thin. With aggressive sanding, you will sand through the veneer very easily, causing irreversible damage. Always start sanding with fine-grit sandpaper (120-grit).
Here is how it looks when you sand through the veneer. You can see the particle board through the holes: Source: Reddit
Here is a veneered dresser top I sanded recently to remove the old varnish. For this makeover, I used my detail sander and 180-grit sandpaper. I ended up sanding by hand using 240-grit for a smooth finish.

What are the alternatives to sanding veneer?
If you are too scared of damaging the veneer, you may consider the following alternative options:
1/ Liquid sandpaper to remove old varnish, lacquer, or polyurethane from veneer
Liquid sandpaper is a chemical solution that helps remove layers of gloss or paint from a given object. I’m not a huge fan of liquid sand paper but I’ll have to admit that it is a good alternative to regular sandpaper. It definitely should be on your list when it comes to refinishing veneered furniture. I recommend using Citistrip because it contains no methylene chloride (or No NMP) and it is non-caustic.

2/ A paint scraper
What is exactly a paint scraper? A paint scraper is a manual tool designed to be pulled towards you. It has a flat steel blade and a handle made of plastic, wood, or metal. Using a paint scraper is an old-fashioned but efficient way to remove paint or varnish off wood furniture. Of course, you can use it on veneered furniture provided that you work carefully. Good paint scrapers have very sharp blades and you don’t want to damage underlying wood in the process.
Work in the direction of the wood grain to minimize the chance of damaging the veneer. Do not press the scraper too hard so you only remove the finish and none of the wood.
All paint scrapers are not created equal. If you only buy one, buy a Bahco scraper. This is what I’m using, you will save time and a lot of effort. Bahco scrapers are simply the best.

Once you have removed the old finish, you can sand lightly your piece of furniture using 220-grit sandpaper to get a smooth finish. Your piece is now ready to be painted or refinished.
Finally, I would like to remind you to always protect yourself when removing paint or varnish from old furniture. Wear at least a particle respirator if you’re using regular sandpaper or a scraper. Using liquid sandpaper will require more equipment: put on safety glasses, use a respirator with a chemical cartridge and protect your skin by wearing a long-sleeve shirt and rubber gloves.
Pin this article for later reference!

Happy makeover!