Are you looking for a unique way to spruce up an old dresser? Look no further! Today, I’m going to show you how to give your vintage dresser a modern makeover using blue paint and painter’s tape. This easy DIY project is sure to add tons of personality and style to any vintage piece of furniture. So grab some supplies and let’s get started!
The dresser that got a good makeover is a common furniture item from the 1960s. The piece was obtained for no cost by Amelie from a neighbor who was planning on disposing of it. It is made of a mix of solid wood and veneer. Unfortunately, the veneer on the front, especially on the frame pieces between each drawer, was significantly damaged, and there were stains on the top.
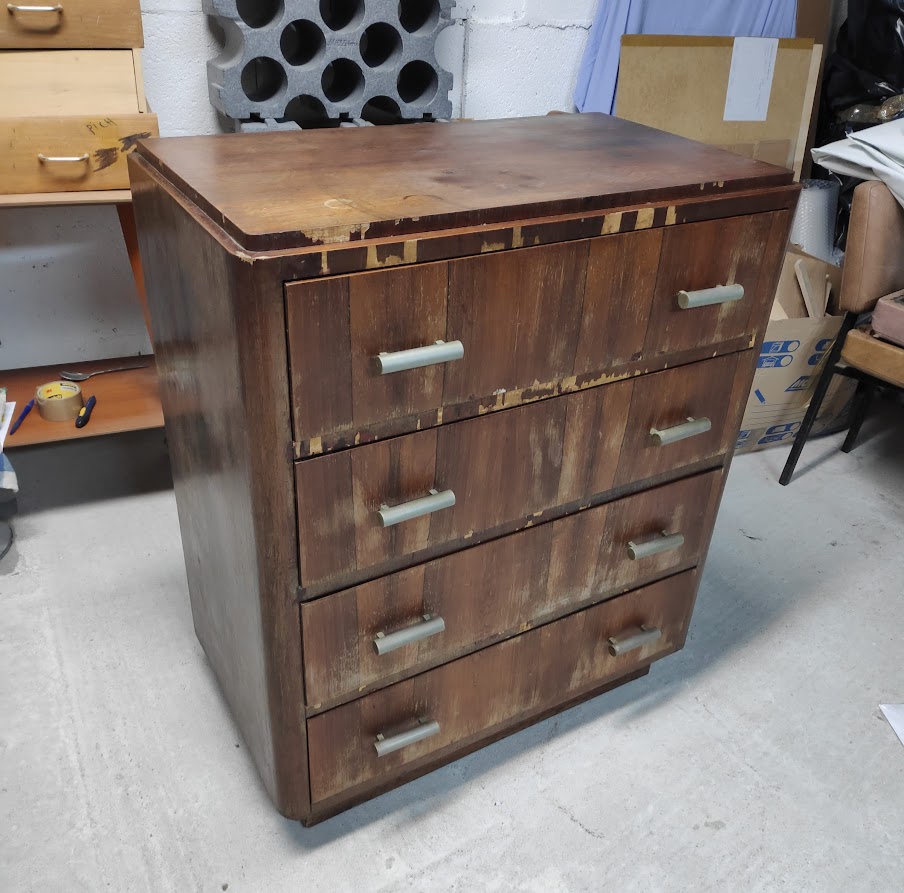
The furniture design is dark and simple. So it could definitely benefit from a touch of color to make it more lively.
Table of Contents
Supplies and Tools Used for this Makeover


, 2090, 3 Rolls")
 | Matte True Teal Chic Chalk Mineral Paint | DIY Furniture Paint | Made in the USA")

Prep Work
1) Cleaning
The piece was quite dirty. For effective cleaning, Amelie used a vacuum cleaner and degreaser to remove dirt. Then, she disassembled the hardware and safely store it in a plastic container.
2) Sanding
Amelie began by sanding down the dresser to remove any existing finishes. This will help the paint adhere better. The entire piece was sanded using 120-grit and 180-grit sandpaper for a smooth finish. When sanding veneer, caution should be taken not to sand through, and fine-grit sandpaper should always be used. Discover how to sand veneer here.
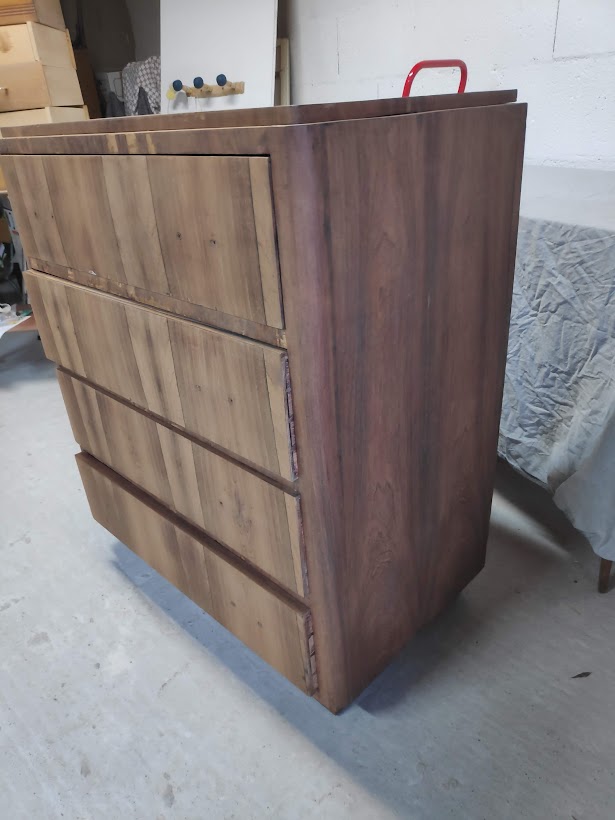
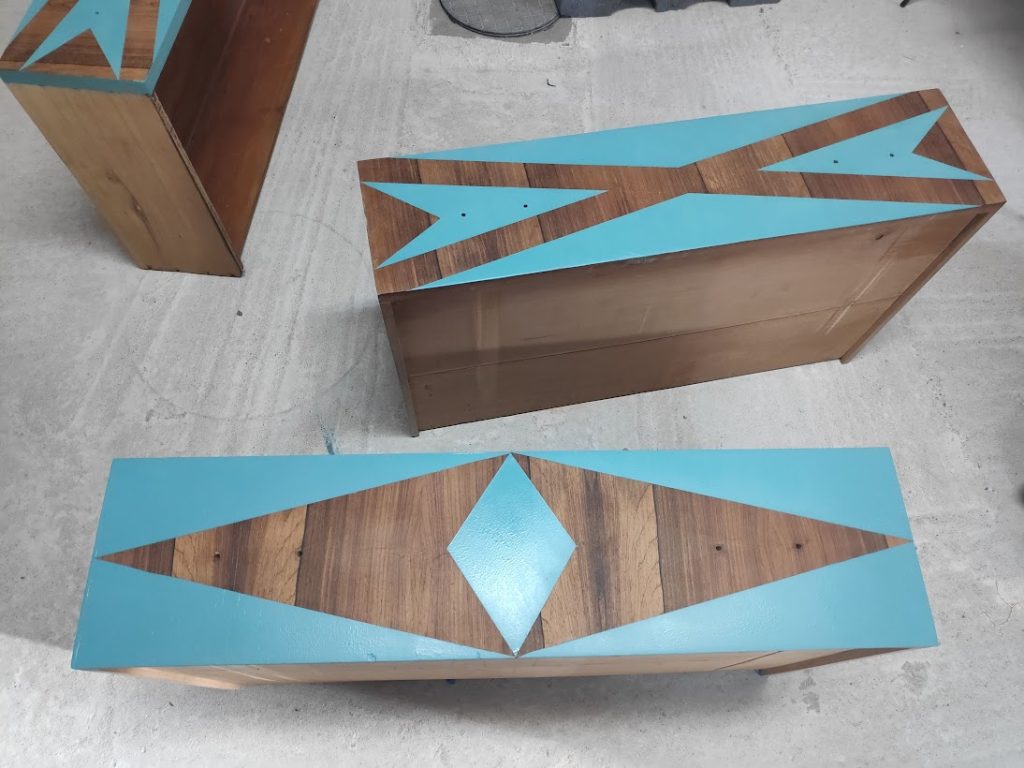
After being sanded, the wood appears beautiful and resembles a walnut veneer.
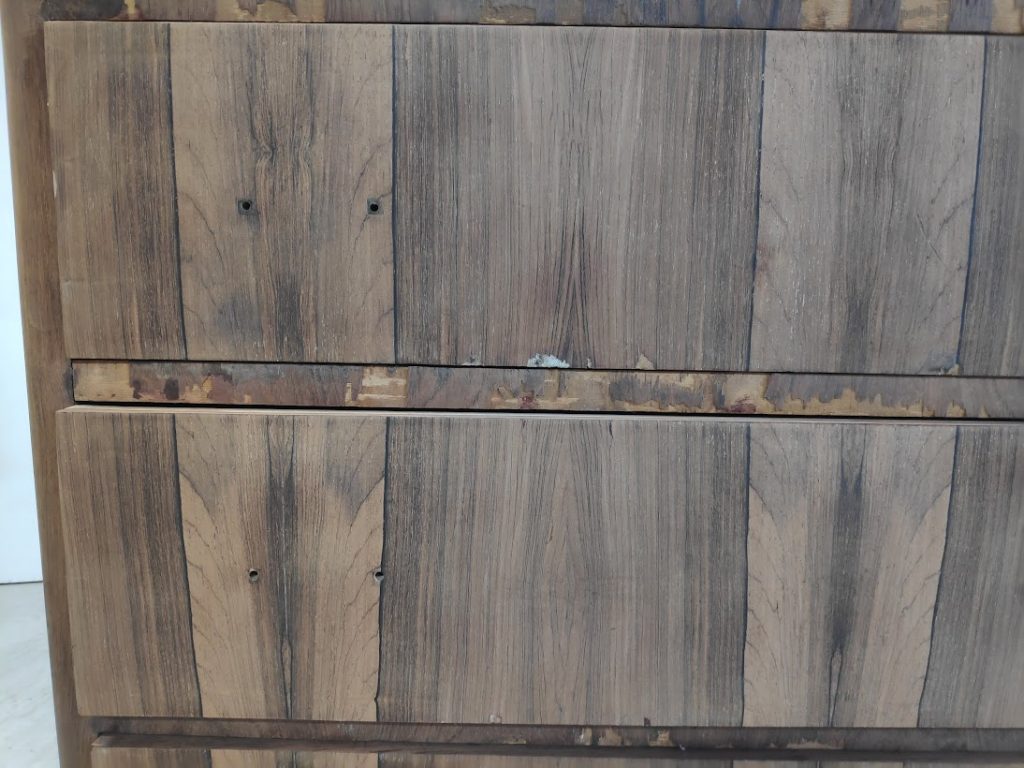
3) Repairs and small fixing
To repair the damaged veneer, she applied wood filler and sand to remove any excess until a smooth finish is achieved. Priming was not necessary for this piece as the paint she plan to use does not require it.
Makeover process
1) Painting
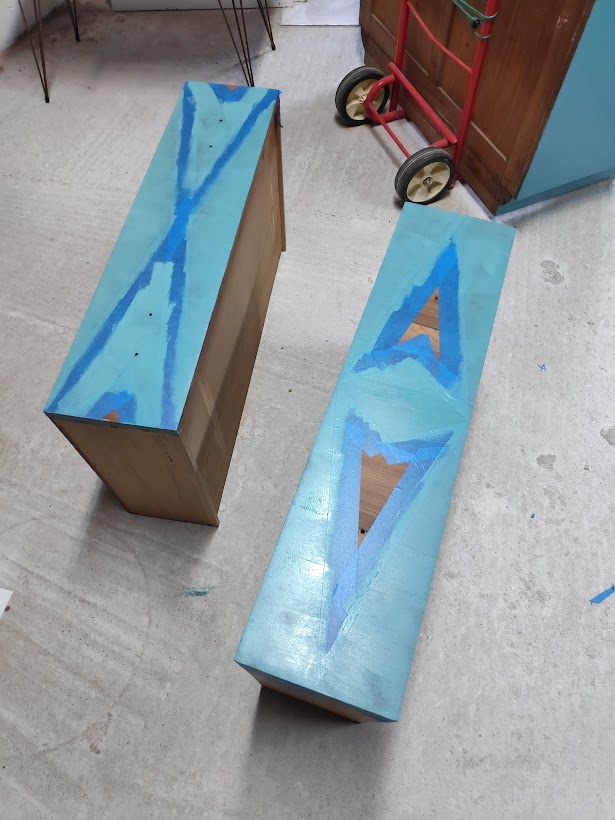
To create a pattern of alternating blue and raw wood diamonds and triangles, Amelie applied painter’s tape on the dresser front. The idea was to paint over areas where the veneer was missing to conceal any damage.
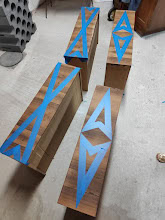
She then used a paintbrush and a small paint roller to apply blue paint to the dresser’s body. Two coats of paint were enough to achieve a satisfactory finish.
2) Topcoat and Finishing Touches
The dresser was coated with a satin sheen top coat to seal it.
The hardware was reinstalled. The old knobs were still in good condition and matched the new style of the dresser. So, they were thoroughly cleaned and reattached in the same place, without the need to drill new holes.
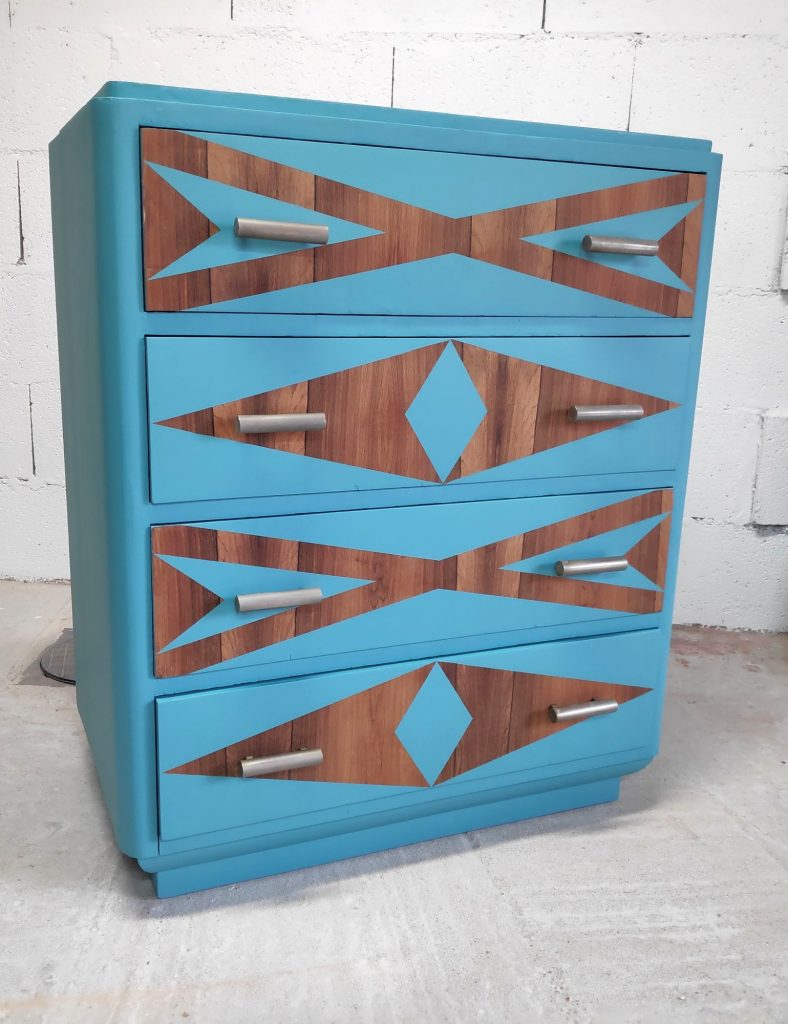
I like the way this vintage dresser makeover turned out. The furniture has a more modern and less stark appearance with the addition of bright blue paint, creating a unique and original touch. The pattern drawn by Amelie is an easy solution to hide veneer damage and keep some wood finish.
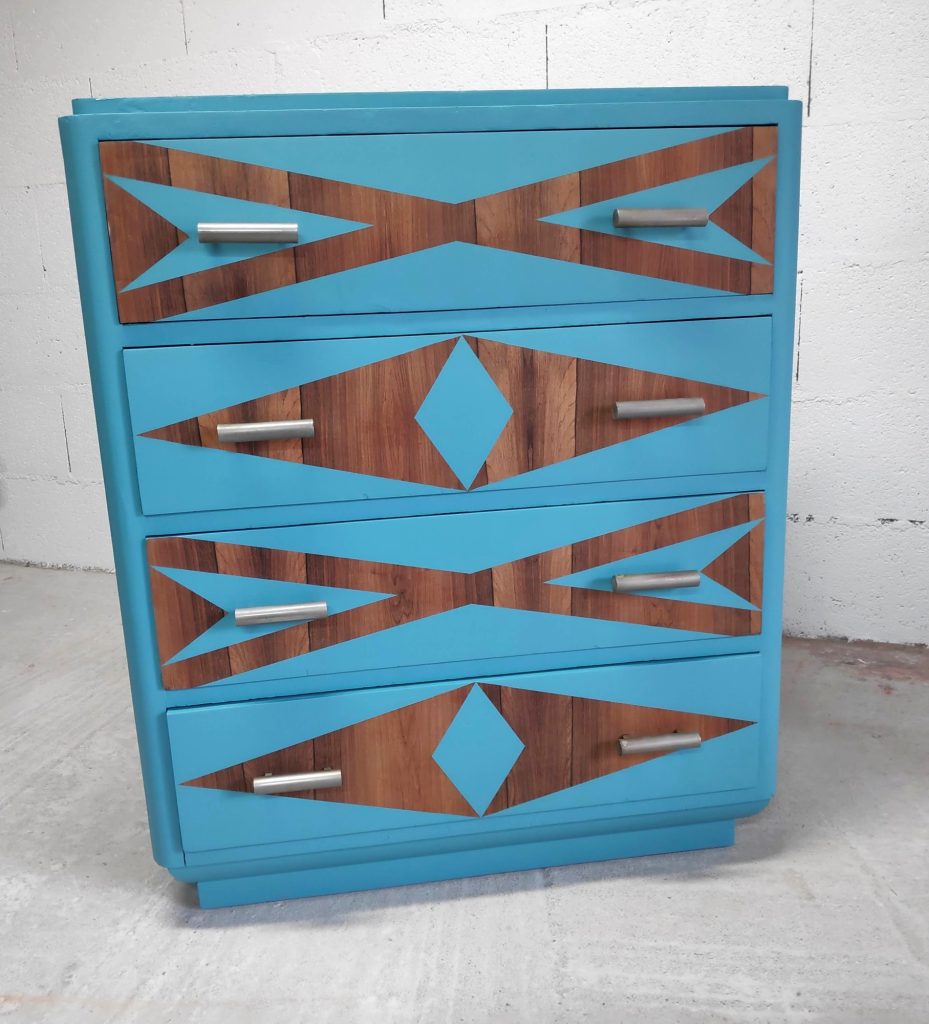
This furniture piece is ideal for a modern living room or bathroom.
Save this project for later!

Happy Makeover!


