Give an outdated chest of drawers a new look with the two-tone technique using chalk paint and stain!
Hello all! I am super excited to share with you our project this week. We are in the process of giving our master bedroom a makeover. Nothing major because we rent. With that being said, we will be changing the décor and furniture! Furthermore, all of the furniture pieces were purchased used, as well as the bed we plan to use. We did not buy any new furniture pieces.
Now onto the Chest of Drawers makeover. (Affiliate links have been used in this post. If you make a purchase, I receive a small commission at NO extra cost to you. Thank you!)
Master Bedroom Before
Here are a few pictures of our existing master bedroom.


I painted our bed and the chest of drawers about a year ago. The paint has really held up well. Just time for a change. These pieces will go to my daughter. She plans to repaint them and use them in her bedroom (wonder who she gets that from!).

These were our original side tables. The tables were made from old thrift store tables we found for $2.00 each. The Hubs just added wood tops. With that being said, they are cute, but they have no storage, which is a bummer. I now use one in our office for our printer, and the other to stage my craft projects. (Note: I painted the nightstands white and am going to repaint).

There will be several other blog posts before the makeover reveal. (Note: Join my Facebook or Instagram to see updates and sneak peeks!).
I will also be publishing another blog post that will show how I will use repurposed items to make up most of my bedroom décor. Here are a few pieces I will be using. You can see the upcycled vintage picture frames HERE.

Black Iron Bed
Now for the star of the show. The beautiful black iron bed. I have always wanted an iron bed ever since I was a small child. The character and charm are like none other. I searched for months trying to find a used one to no avail. Luckily, one of our friends had just gotten married and had one for sale.

We purchased the bed and the nightstands, so we had a matching set. I could not believe how hard it was to find a set of nightstands! I searched for weeks on end only to find singles!

My goal was to create a farmhouse bedroom. The iron bed certainly has farmhouse qualities. I also wanted to incorporate black and white buffalo check. Y’all know how much I love buffalo check! The paint color in our room is light gray, with the accent wall painted in a darker gray.
Table of Contents
Two-tone chest of Drawers Makeover
Now, onto the chest of drawers project!
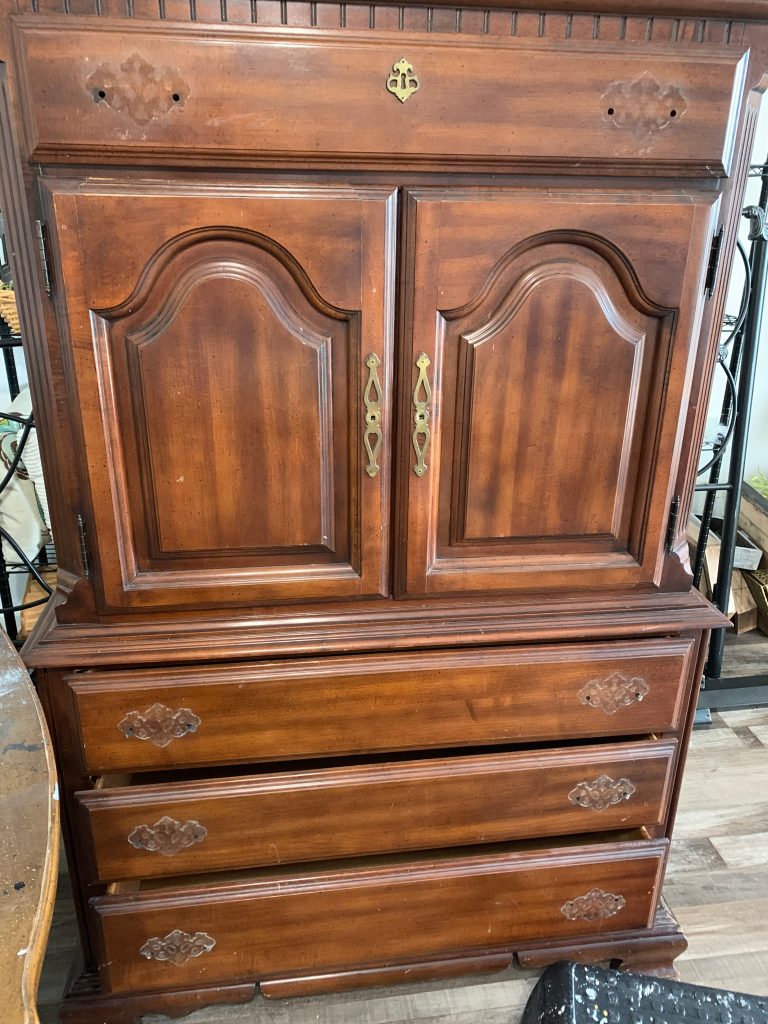
I wanted to also incorporate pieces with wood. I feel this is important when having a farmhouse theme. Luckily, the chest was all wood. Therefore, I decided to use the two-toned technique. This technique is where you incorporate stain as well as paint. The drawer fronts would be sanded and stained as well as the door fronts. My paint color would be Dixie Belle’s Caviar, a deep rich black. English Chestnut by Minwax will be the stain color.
You can see a two-tone finish I recently completed on a vintage dresser HERE.
Step 1 – Prep of the Chest of drawers
The first order of business was to remove the drawers, the two doors, and the old hardware. I purchased new hardware from Lowe’s that I will add to the finished piece.
Everything was cleaned with my vinegar and water spray (1-part vinegar, 2-parts water). The bottoms were cleaned, as well. You can see how I clean the bottom of my furniture HERE. Make sure to allow the furniture time to dry after you clean it, or the paint will not adhere.

I sanded (outside) each door front and drawer front to remove the existing finish using my Dewalt Orbital Sander with 120-grit sandpaper. I followed up with 220-grit to achieve a smooth finish.

Look at the beautiful wood! The sanding dust was brushed away with my small brush.

Step 2 – Applying stain
Applying stain on the drawers and doors
Each drawer front, as well as the door fronts, received one coat of the stain. I applied the stain with a lint-free cloth. Just simply wipe on, wipe off (Like Mr. Miyagi from Karate Kid), removing any excess stain. Sorry, every time I say wipe on wipe off, I can’t help but remember the movie!

Applying stain on wood appliques
I added one coat of stain to the wood appliques that I purchased from Amazon. I wanted to add contrast and thought these would be perfect for the door fronts.


The stain needed to dry for at least 48 hours, Therefore, I set the wood appliques, the drawers, and doors to the side and began the painting process on the chest.
Step 3 – Painting the Chest of Drawers
For this project, I decided not to prime. To clarify, since I am painting with a dark color, I do not have to worry about any bleed through. Dixie Belle paints require no sanding or primer.
Make sure to stir your paint before applying. I also keep my paintbrush dampened with water using a spray bottle. This allows the paint to go on smooth, and you will have fewer brush strokes.

Here is the chest after one coat.

After about 4 hours of drying time, I applied the second and final coat.

The next day, the doors, drawers, and wood appliqués were ready for paint. I placed the tape around the edges of the stained drawer and door fronts to keep from getting paint where I didn’t want it. You can see other furniture makeovers by clicking HERE.

Each drawer and door front took two coats of paint. The wood applique only took one coat.

Step 4 – Distressing and sealing
The next day after the paint had set, it was time to distress. As a result, I took a piece of 220-grit sandpaper and sanded around the edges of the doors and drawer fronts. Additionally, I distressed the wood appliques. I removed the sanding dust with my tack cloth.


To add the wood applique, first measure to find the center of each door front and then mark the points using a pencil. Next, apply hot glue to the back of the wood applique and press onto the door.

Les parties peintes ont été cirées avec une cire foncée et les parties teintées ont été cirées avec une cire claire. Mon mari m’a aidé à fixer les nouveaux boutons et poignées sur les tiroirs et les portes. Je trouve qu’ils vont vraiment bien avec la finition bicolore du meuble.

Pin it for later!

Here are the knobs!

And now, the finished chest of drawers. It is now beautiful! Once everything is complete, I will share the entire bedroom makeover.

Tools and Supplies You Will Need for the Two-Tone Chest of Drawers Makeover
- Orbital Sander
- Dixie Belle Paint, Caviar
- Minwax Wax, clear wax
- Minwax Wax, Dark wax
- Minwax Stain, English Chestnut
- Multi-Surface Painter’s Tape
- Wood-Carved Furniture Applique
“It’s not about what it is, it’s about what it will be.”
Looking for more furniture makeovers ideas?
Check our Accent Cabinet Makeover and this Repurposed Kitchen Cabinet


What a gorgeous finished piece! The amount of detailed work you and your husband did definitely shows! Looking forward to seeing the room makeover!
Thank you Beverly! I am ready for it to be completed 🙂
My absolute favorite of your projects!
Thank you Dana! It’s one of my faves too!
Can’t wait to see that room! And your furniture makeovers always blow me away. I am not crafty that way, but I love to watch the process. I’m also always so impressed with by your vision? Great work!
Awww thank you so much Kim! You made my day ❤️
This turned out amazing!!! I love the wood pieces in the middle. So pretty! I also love the iron bed. I’ve always wanted one of those, too. I’ve been checking thrift stores like crazy. ?
Thank you Michelle! Iron beds are so hard to find. We lucked up with this one 🙂
Just GORGEOUS!!! Love the appliqués!!! Can’t wait to see the finished room!!!
Thank you Gail! I can’t wait to be finished and share❤️❤️
You are wonderful about explaining your process I love this chest! Can’t wait for nightstands makeover and the final room reveal. I want to refinish some of my hand me down pieces. just the garage cleaned out for work space! It’s a mess & full of others junk!! Telling all to come & get it or we’re donating.
Thank you so much Donna! Try your hand with at least one piece. I promise it’s not hard ??